
So, when a big storm rolls through, you’re naturally concerned about your roof. After all, it protects you and your house from the thunder and rain; without it, you’d be very screwed.
It seems like everything is fine until you begin to hear the telltale drip of a leaking roof. Roof leaks cause water damage over time, so it’s best to stop them as soon as possible. But your roofing contractor is busy and won’t be able to fix your roof for a couple of weeks.
Luckily, your local hardware store has everything you might need to seal that leak up until the repairman gets to you. Keep in mind that you should only attempt to fix your roof if you’re comfortable working on your roof with the proper safety precautions.
Spotting a Roof Leak: Popular Leaky Roof Spots
The first step to stopping a leak is to figure out the leak’s location. Sometimes, it’s easy to spot, with missing shingles and damaged plywood. Or sometimes, it’s difficult, the insidious leak hiding somewhere you can’t easily spot from a walk around your roof.
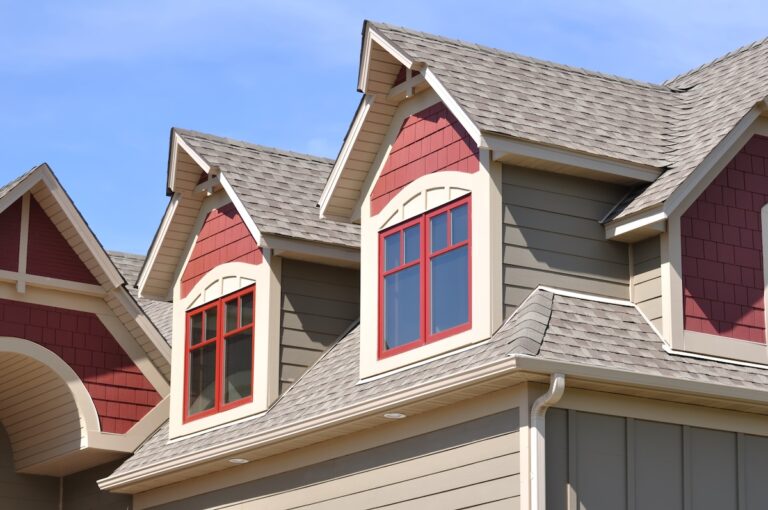
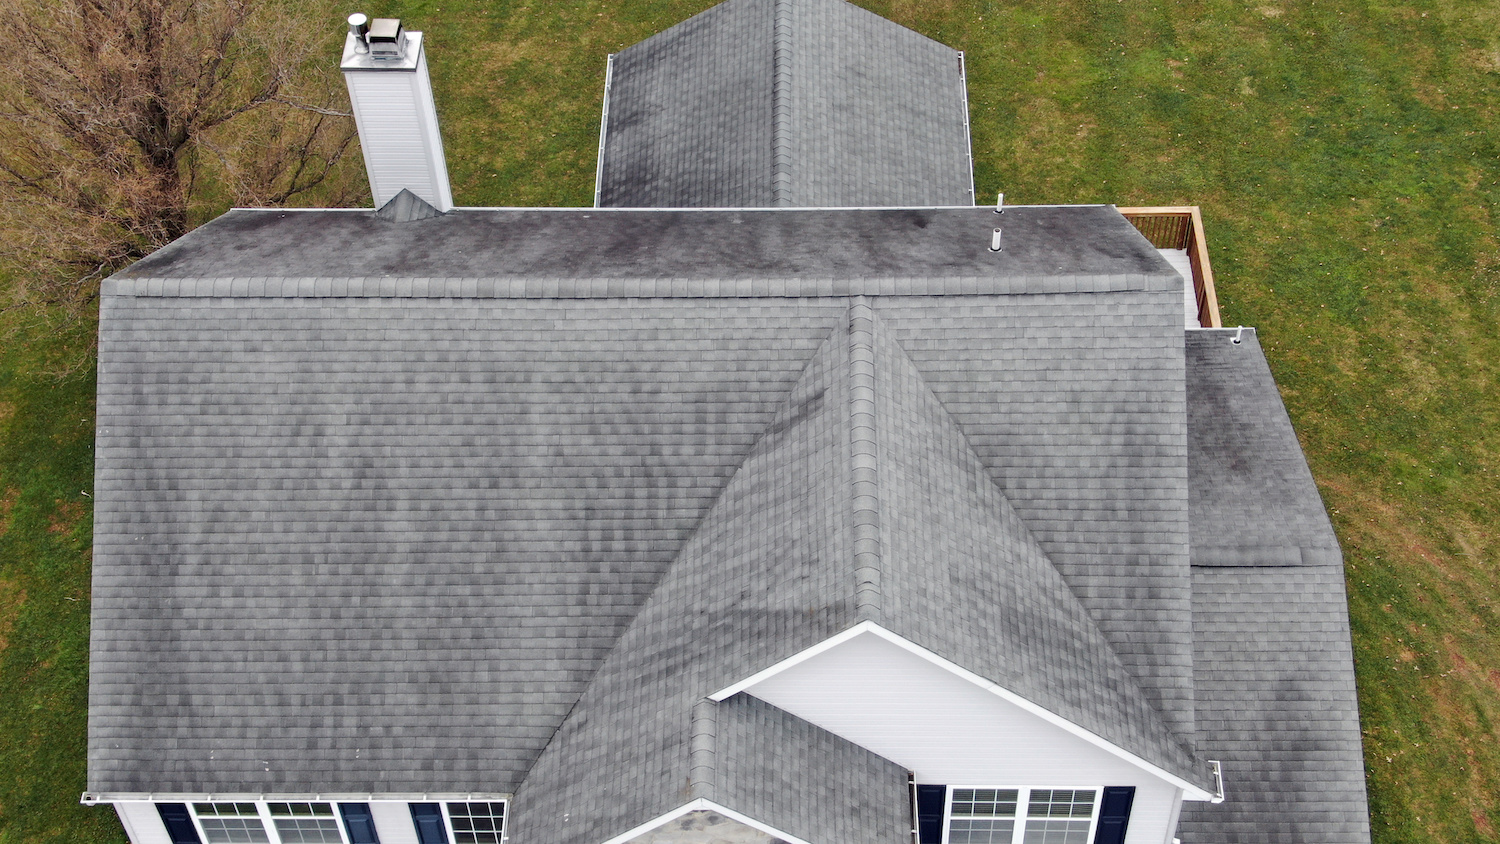
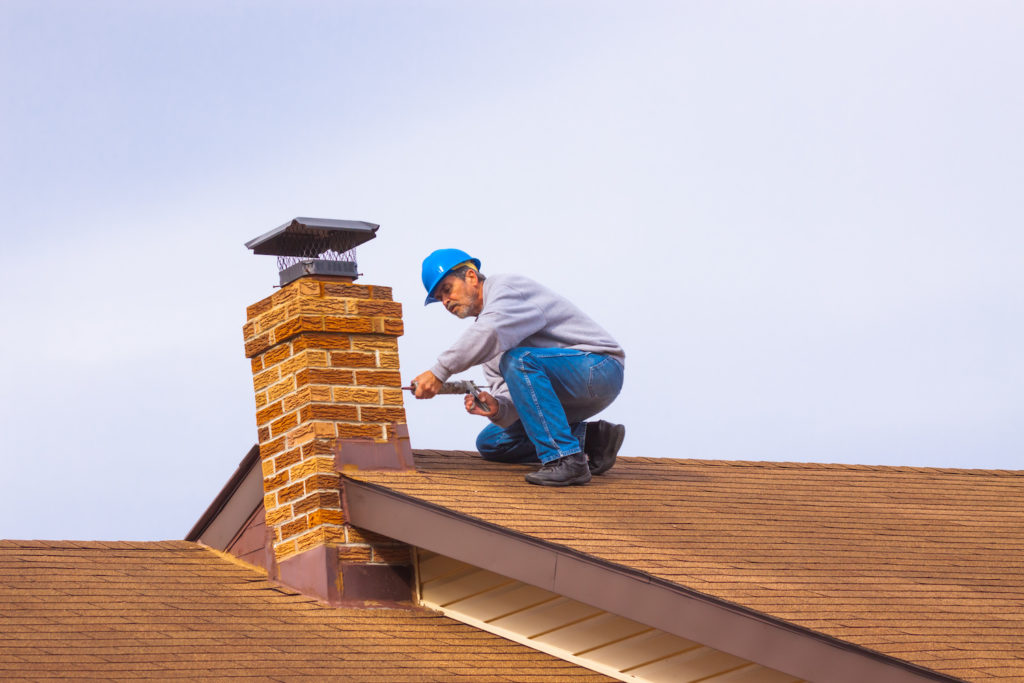
If you have access to your attic, start your search for the leak inside the home for water stains and further damage to insulation and wood. Then, start your search above the corresponding spot in your attic. Start your search around roof joints, like dormers, chimneys, and roof vents.
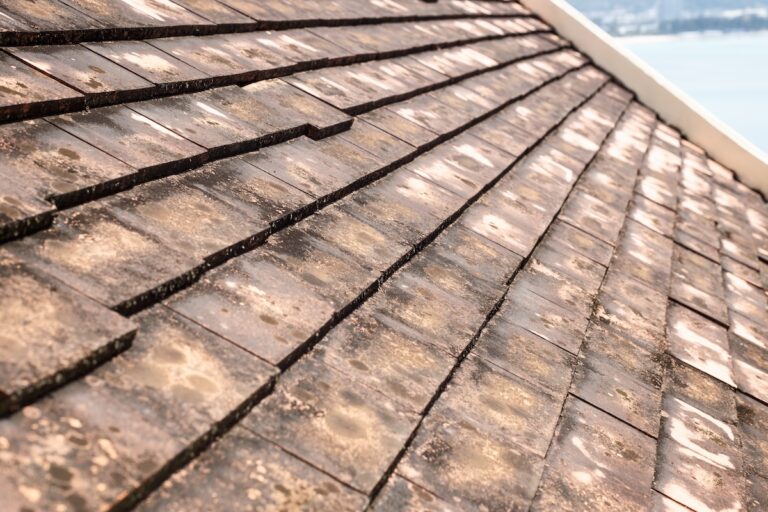
Check the metal flashing around the edges for holes or rusting metal. Roof leaks rarely happen to ordinary shingles unless the roof damage is apparent.
Look for missing roofing nails, and check the surrounding shingles to ensure they’re flush with the flashing. Chances are, one of these spots has the problem. However, if you still can’t find the roof leak even after meticulously going over your roof deck, get a garden hose and a volunteer.
Have the volunteer stand below the roof leak in the attic, then run water through the hose over the suspected areas. Once the volunteer tells you water is running through the leak, you’ve found your problem spot on your leaky roof. Take your time, and spend a few minutes on a site before moving on to the next.
Sealing Curled Back Shingles With Roofing Cement
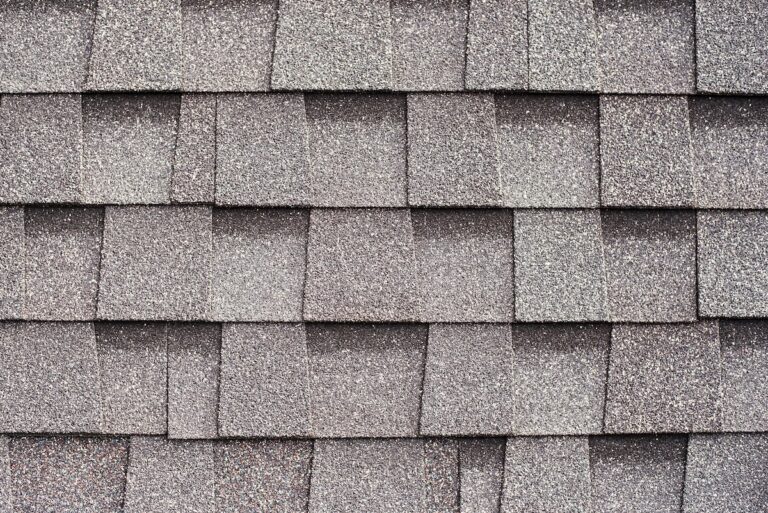
Asphalt shingles are one of the best roofing materials on the market. They’re durable, long-lasting, come in various colors and styles, and are easy to install. However, old shingles can develop problems over time that you can quickly fix.
If you find curled shingles cause your roof leaks, you must seal it with some roofing cement and tamp it back down. Take a caulk gun, fill it with roofing cement, and close the shingle’s edges with a thick bead. If you’re doing this in cold weather, you might need a blow drier, as the roof cement needs temperatures above 40 degrees to seal correctly. Otherwise, you’ll want to perform roof repair in warm weather.
Replacing Broken Asphalt Shingles
You’ll want some extra shingles for your roof, just in case. However, if your leaky roof is the victim of storm damage, you’ll likely be replacing some broken shingles. After experiencing roof wind damage, assess the damage. If the holes and tears are less than a quarter inch, you can seal them with roof cement or caulk for a quick fix.
But if the damage is more extensive, use a pry bar to unseal the shingle from the tar paper. Then, remove shingles by getting under the nail heads and taking them out. Place the new shingle under the shingle on top and top of a generous amount of roof sealant.
You may want to round the top edge with a utility knife to make this easier. Then, take some galvanized steel roofing nails and drive them into the top, under the top shingle. You just have to dab some more roof sealant onto the nail heads before placing the top shingles back onto the new shingles.
Roof Vents
A common cause of a leaking roof is vents and other protrusions from the roof deck. When you find roof leaks, pay special attention to these areas. Roof vents can have a torn rubber boot, old flashing, missing nails, or other obvious signs.
Sealing Flashing
If you’re just looking for a quick fix, you must seal the holes with roof cement or caulking. Just be careful to make it even, as large clumps of sealant and caulk can cause water to pool and run under the roof deck. If they’ve been sealed with cement, use a putty knife to get even more on there.
This is common for step flashing, and replacing damaged flashing takes some more skill than just cementing an old shingle back into place. Check flashing in back corners, along the side of dormers, and the edges of the building for possible leaks in need of repair.
Replacing Flashing
If you’re handy, you can even replace the old flashing with new flashing. Just take a flat bar, pry the nails holding the flashing off the high-density fiberboard, add sealant, plop the new flashing down under the neighboring shingles, and drive the roofing nails in, then you’re in good shape. You can also slide a new piece of aluminum flashing under an old part using cement, which is excellent for a temporary fix.
When To Call a Professional Roofer: Jobs for a Roofing Contractor
There are some jobs you just can’t handle on your own, like damaged wood, extensive damage to the roof sheathing, ice and water barrier problems, and working with more complicated roof types. While most roofs are asphalt shingles, metal roofing or other types are more complex to repair. You can cover the damaged area and wait for the roofer to get to you.
Extensive Damage and Installing a New Roof
All the minor issues and repairs in the world can’t fix a roof that’s run its course. Ceiling leaks and old shingles are all evidence that it’s time to replace your roof. So, stop constant repair and don’t cover the issue, and just get a new roof.