For property managers, the maintenance and upkeep of flat roofs can be a daunting task. Flat roofs are common in both commercial and residential properties, and their proper care is critical to preventing costly repairs and ensuring long-term performance. An essential aspect of flat roof maintenance is accurate measurement—whether you’re budgeting for:
- Repairs
- Planning maintenance
- Gathering quotes
- Replacing the roof entirely
This post will walk you through the step-by-step process of how to measure a flat roof and accurately. Whether you’re a seasoned property manager or new to roofing maintenance, you’ll come away with useful tips and strategies to simplify the process.
Why Measuring a Flat Roof Is Important

Before we get into the “how-to,” let’s take a moment to understand why accurate measurements matter so much.
- Accurate Budgeting: Measuring a flat roof enables you to estimate repair or replacement costs more effectively. Material quantities, labor costs, and even waste disposal expenses fluctuate based on the total roof area.
- Precise Material Acquisition: Whether you’re buying roofing membranes, insulation, or primer, knowing the roof’s dimensions ensures you purchase the correct amount—avoiding overspending or material shortages.
- Comparing Contractor Quotes: When soliciting bids from contractors, providing them with precise roof measurements levels the playing field. It ensures that quotes are based on the same data, making it easier for you to select the right vendor.
- Compliance with Regulations: Some local ordinances require specific roofing materials and permits based on roof size. Measuring your flat roof ensures compliance and prevents fines.
With these benefits in mind, it’s clear that proper roof measurement is a vital skill for property managers.
Tools You’ll Need to Measure a Flat Roof
Before you get started, make sure you have the right tools on hand. Accurate measurements require the following equipment:
- Measuring Tape: A heavy-duty, long tape measure (at least 50 feet) works best for flat roofs.
- Laser Distance Measure: For large or irregularly shaped roofs, a laser distance measure provides quick and accurate results.
- Notepad and Pen: Use these to sketch the roof layout and jot down measurements. Alternatively, a mobile app can serve this function.
- Ladder: Ensure your ladder is stable and long enough to safely access the roof.
- Safety Gear: Wear sturdy boots, gloves, and a safety harness if necessary to avoid accidents.
- Helper: A second person can make the process faster and easier by holding the tape measure or marking points.
Pro Tip: If measuring large commercial roofs, consider using drones for added accuracy and efficiency.
7 Step Guide to Measuring a Flat Roof
Now that you have your tools ready, let’s dive into the process of measuring your flat roof. Follow these steps to ensure accurate results:
Step 1: Assess the Roof Condition
Before starting, inspect the roof for hazards such as loose debris, slippery surfaces, or damaged areas. Flat roofs may seem safer than sloped ones, but hazards still exist, especially in older buildings.
If the roof feels unstable or unsafe, stop the process immediately. Consider hiring a professional roofing company to conduct the measurement safely.
Step 2: Create a Rough Outline
On your notepad (or digital device), sketch a rough diagram of the roof, including any unusual features like chimneys, vents, HVAC units, or parapet walls. This will serve as a reference as you collect measurements. Take note of any irregularly shaped areas, as these will require additional calculations.
Step 3: Measure Roof Length and Width

For rectangular or square roofs, start by measuring the length and width of the roof.
- Length: Measure from one end of the roof to the other. Be sure to account for overhangs beyond the building’s edges if applicable.
- Width: Measure across the roof perpendicular to the length measurement.
Pro Tip: If working with a helper, have them hold one end of the tape measure while you walk to the other end for maximum accuracy.
Multiply the length by the width to calculate the total roof area.
Example: A roof measuring 50 feet by 40 feet equals 2,000 square feet of total area.
Step 4: Account for Roof Features
Flat roofs often include additional elements like skylights, vents, or HVAC units that occupy space. Subtract these areas from the total roof size to get an accurate measurement of usable roofing surface.
- Measure the dimensions of these features (length × width).
- Multiply the measurements for each feature to determine its area (e.g., a skylight that’s 3 feet by 4 feet = 12 square feet).
- Subtract the combined square footage of roof features from the total roof area.
Example: If skylights and vents occupy 40 square feet on a 2,000-square-foot roof, the adjusted total is 1,960 square feet.
Step 5: Measure Roof Pitch (If Applicable)
While flat roofs are typically “flat,” they often have a slight slope (pitch) to facilitate water drainage. Although the pitch is usually minimal, accurately recording it helps contractors calculate material needs more precisely.
To measure pitch:
- Place a level at one end of the roof.
- Raise the other end until the bubble is centered.
- Measure the vertical rise (height) from the level’s raised end to the roof’s surface.
- Divide the rise by the length of the level to determine the slope ratio (e.g., a 1-inch rise over 12 inches is a 1/12 pitch).
Document the pitch in case contractors need this information.
Step 6: For Irregularly Shaped Roofs
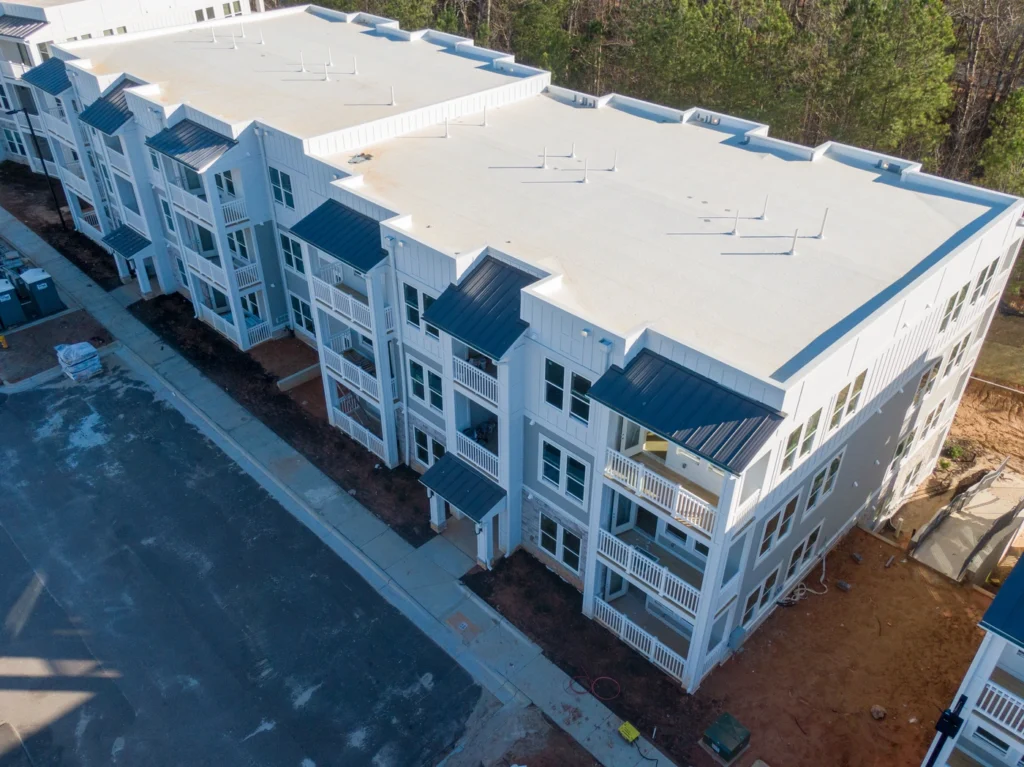
For L-shaped, T-shaped, or other irregular roof designs, break the roof area into smaller sections. Measure each section individually (length × width) and add them together to calculate the total.
For rounded edges or semi-circles, use geometric formulas to estimate the surface area.
- Semi-circle area = 3.14 × (radius × radius) ÷ 2
If unsure, consult a professional or use drone technology for precise measurements.
Step 7: Verify and Double Check
Before finalizing any measurements, double-check your work. Errors during the initial measurement process can lead to costly overestimations or shortages later on. If possible, return to the roof with a colleague and cross-reference your figures.
Common Challenges When Measuring Flat Roofs
Even with careful planning, measuring flat roofs can present certain difficulties. Here are some common challenges and how to overcome them:
- Hard-to-Reach Areas: Certain roof features or obstructions may make it challenging to access certain spots. Use a laser distance measure or aerial drone to gather these measurements.
- Weather Conditions: Harsh sunlight, rain, or wind can hamper accuracy and safety. Choose a clear day with mild conditions for the best results.
- Parapet Walls: For roofs with parapet walls, decide whether to include them in your calculation, depending on the project parameters.
- Drains and Slopes: Slight slopes or drainage areas may cause inconsistencies in measurements. Clarify these details when discussing project requirements with contractors.
- Large Commercial Roofs: Measuring enormous roofs may be time-consuming and labor-intensive without the right tools. For large-scale projects, it’s often best to consult a professional roofing company with experience handling commercial properties.
Expert Tips for Success
Want to make sure that your roof is installed like an expert? Here are our best tips.
- Use Technology: Drones equipped with high-quality cameras and measurement software can significantly reduce effort while improving accuracy for larger properties.
- Verify Contractor Estimates: Once you’ve measured the roof, use your figures to verify contractor estimates. Discrepancies can signal potential issues.
- Document Everything: Keep detailed records of your calculations, including sketches and photographs. This will be helpful when explaining the project to stakeholders or contractors.
- Follow Safety Practices: Never attempt to measure a roof without the appropriate safety gear and precautions.
Leave It To A Roofing Contractor
Measuring a flat roof may seem intimidating at first, but by following these simple steps and using the right tools, property managers can gather accurate data for decision-making.
Whether you’re sizing up a smaller residential roof or tackling a vast commercial property, accuracy in measurement will help you get the best value out of contractors and materials while ensuring your property remains in top condition.
For complex or large-scale projects, don’t hesitate to engage a professional roofing service—they have the expertise and equipment needed to deliver precise measurements and recommendations.
Need professional assistance managing or upgrading flat roofs in your portfolio? At G. Cannon, our team specializes in providing tailored roofing solutions that simplify property management.
Contact us today to learn more—your roof (and your budget) will thank you!
