
If your home has just been through severe weather, it’s important to act quickly and follow a clear roof repair checklist. Whether you’re dealing with missing shingles, fallen branches, or signs of water infiltration, every step you take now helps prevent further structural damage and costly repairs.
In this guide, we’ll walk homeowners through the most important post-storm actions, including:
- Creating a roof maintenance checklist for future prevention
- Identifying damage to roof membranes, roof penetrations, and the roof deck
- Finding a trusted roofing contractor for inspection and repair
Let’s get into the steps that will help you take control after roof damage.
🔍 Start With Safety and a Visual Assessment
After any storm or weather event, your safety is the top priority. Before anything else, assess your property from a safe distance. Never climb onto your roof unless a professional deems it safe.
- Scan from the ground: Use binoculars or your phone’s zoom to look for obvious issues like torn shingles, fallen limbs, or sagging areas.
- Check the attic and ceiling: Water stains, musty odors, or dripping are common signs of roof leaks.
- Avoid hazards: Steer clear of any downed power lines or exposed wiring near the roof.
A safe initial inspection will help you understand what you’re dealing with and what to document.
👉 Prevent Additional Interior or Structural Damage
Even small holes or displaced flashing can lead to water intrusion. Quick action limits the damage while you wait for a professional to help.
- Cover exposed areas: Tarp over any visible holes or roof penetrations to block rain and pests.
- Move your belongings: Relocate anything valuable near ceiling leaks or attic seepage.
- Catch drips with buckets: This limits water pooling and protects your floors and furniture.
These temporary fixes won’t last long but can hold things over until a roofing contractor arrives.
📸 Document the Damage for Insurance Purposes
To get the most out of your homeowners’ insurance policy, you need detailed documentation of any damage caused by severe weather.
- Take photos and videos: Capture damage to shingles, flashing, gutters, roof membranes, and the surrounding areas.
- Note the timeline: Write down the date and time the damage occurred or was discovered.
- Save all receipts: If you spend money on tarps, plywood, or emergency services, keep those records.
A solid record helps support your claim and minimizes headaches with adjusters later.
📞 Contact Your Insurance Provider Promptly
Once you have your documentation, contact your insurer to begin the claims process. Most policies cover weather-related roof issues, including wind, hail damage, and ice dams.
- Report your claim quickly: Waiting too long can lead to complications or reduced coverage.
- Schedule the adjuster visit: The insurance company will likely send someone out to inspect the roofing system.
- Provide all your documentation: Photos, written notes, and repair receipts can help ensure your claim is approved accurately.
After the claim is submitted, it’s time to bring in a trusted local expert.
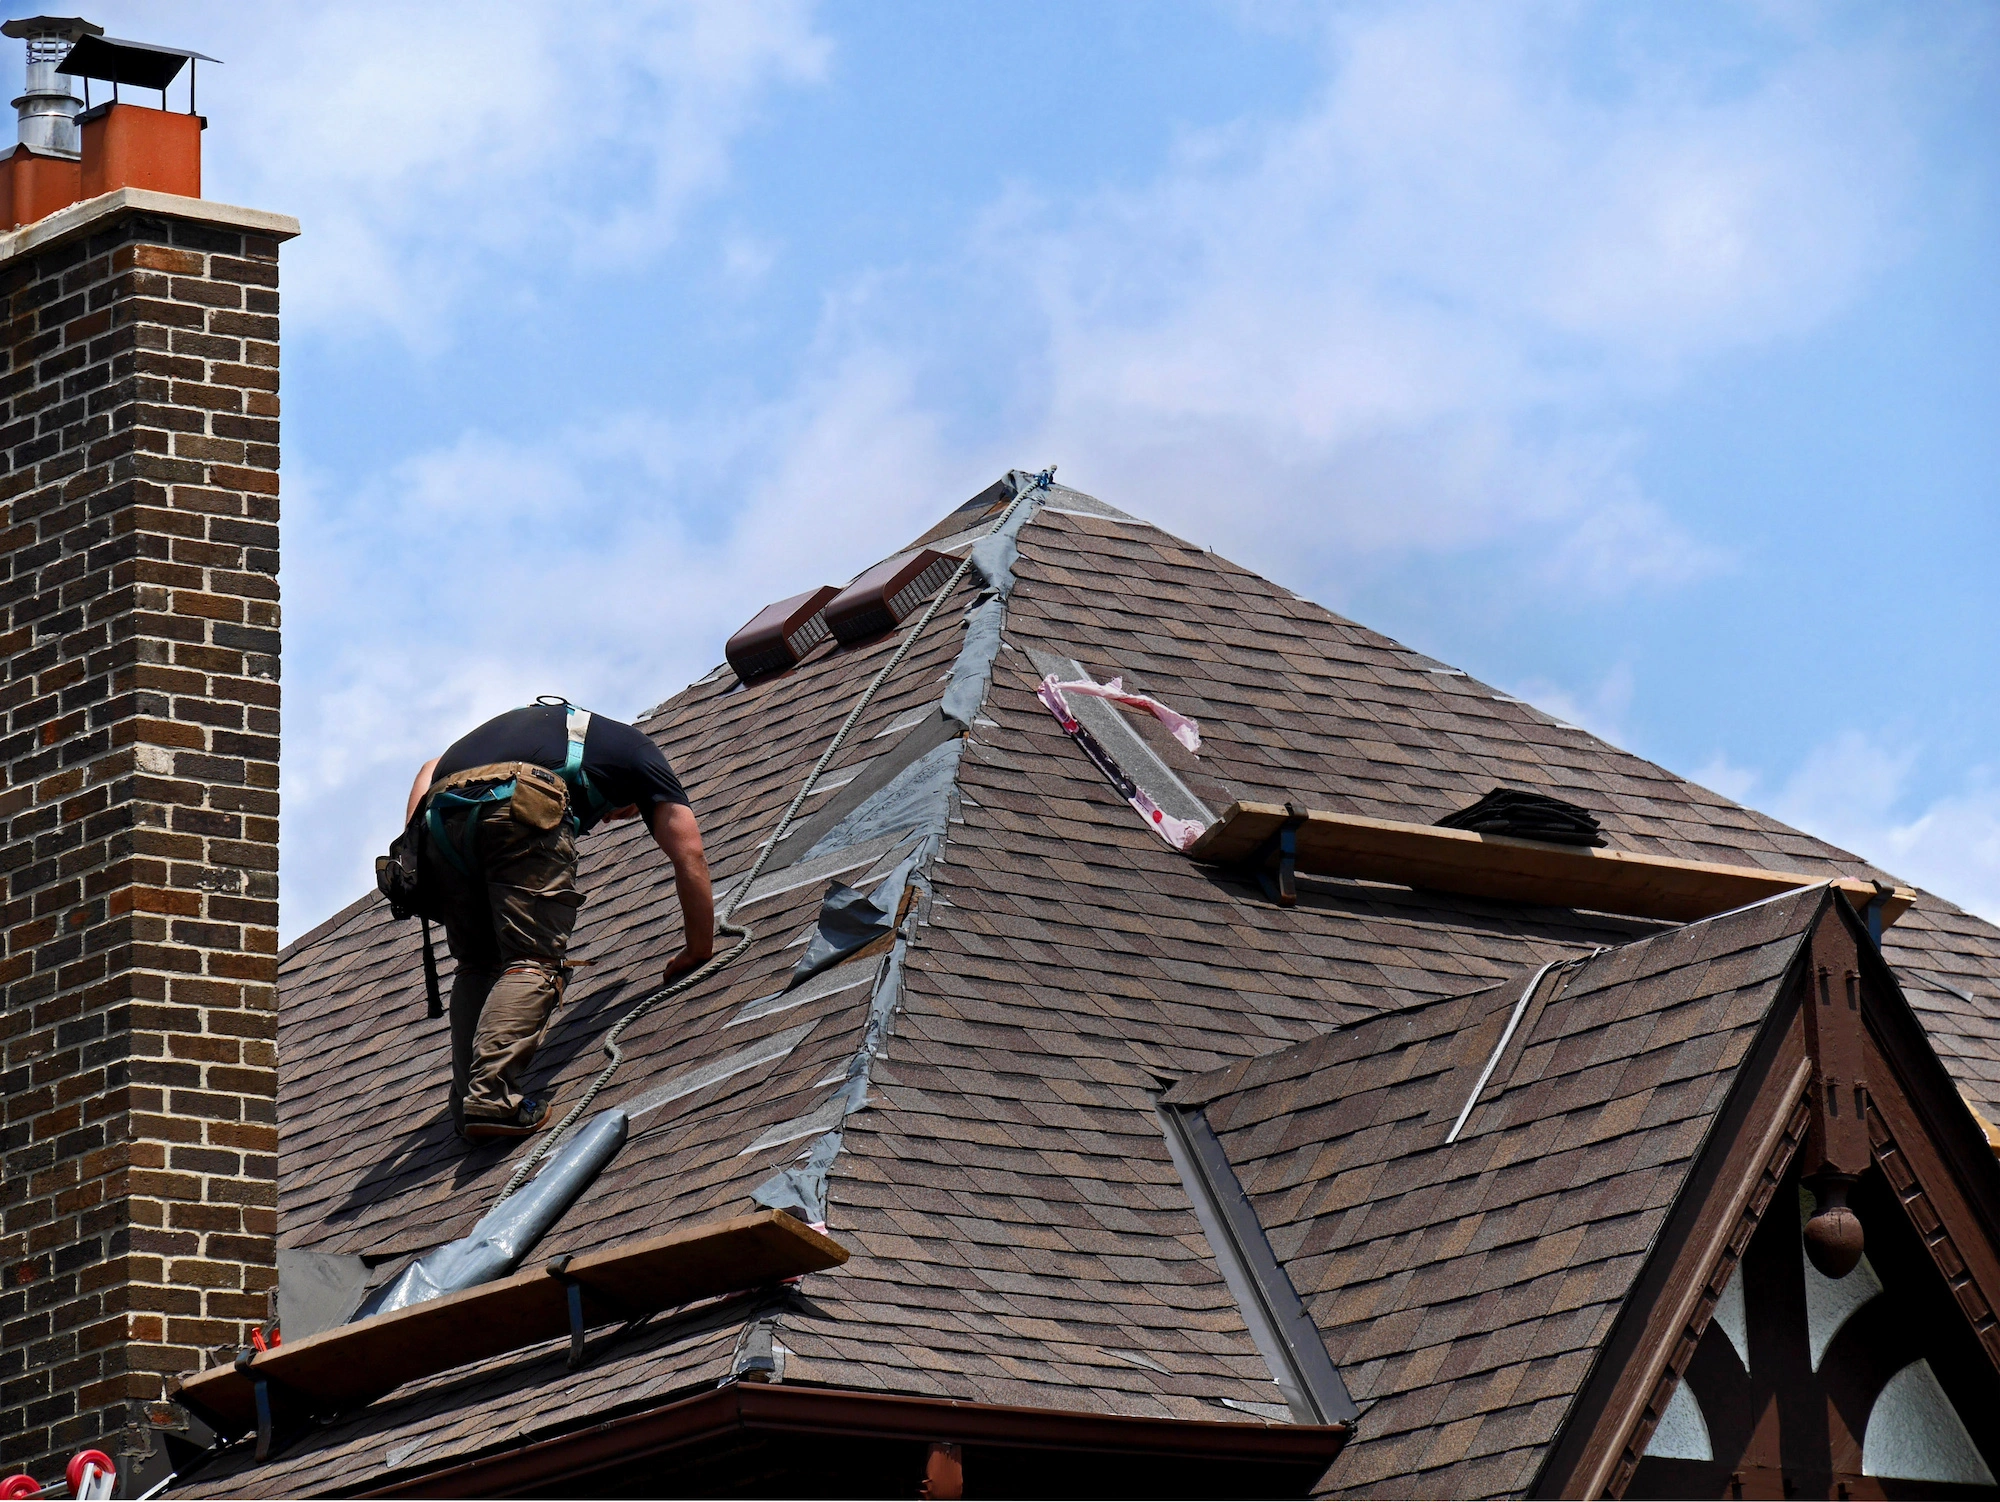
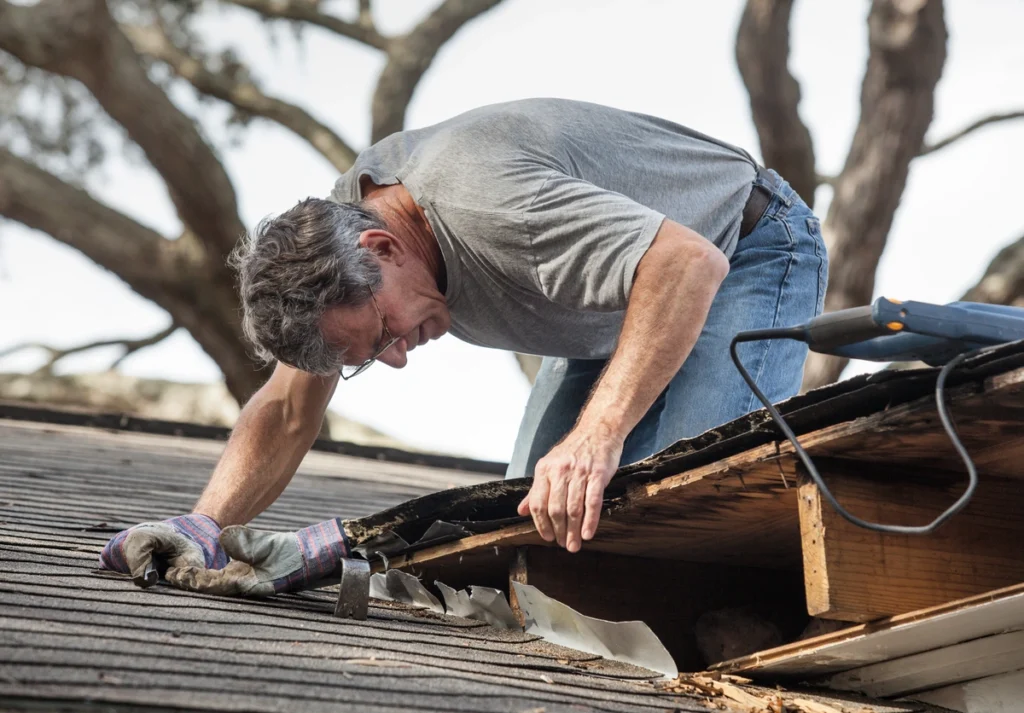
🗓️ Schedule a Professional Inspection
A qualified roofing contractor can uncover damage that isn’t visible from the ground or even to an insurance adjuster. This includes hidden issues beneath roof membranes and the roof deck.
- Choose a licensed professional: Look for a local roofing company with a strong reputation and proper credentials.
- Request a full evaluation: Make sure they inspect roof penetrations, flashings, and the underside of the roof.
- Get a written estimate: It should include labor, materials, timelines, and any warranties.
A good roofing company will offer transparent pricing and help you understand your options.
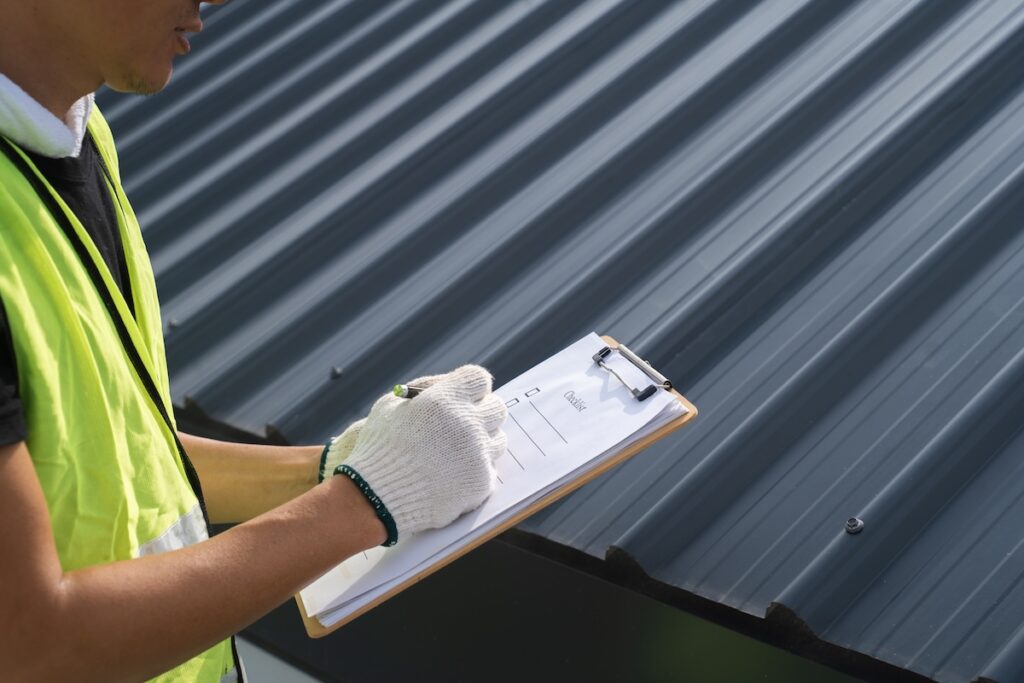
✅ Follow This 7-Step Roof Repair Checklist
Here’s a homeowner-friendly roof repair checklist to guide you through each essential step after damage:
- Ensure safety first: Avoid unstable surfaces, downed lines, and water intrusion hazards.
- Inspect for visible damage: Look for torn shingles, sagging spots, exposed roof membranes, and detached gutters.
- Check inside the home: Signs of leaks, water stains, moss traces, and mold growth indicate deeper issues.
- Document everything: Capture photos and videos of both interior and exterior damage.
- Contact your insurance company: Start the claim process and provide all necessary evidence.
- Hire a professional roofing contractor: Choose a company with the best roofers handling storm and structural damage.
- Schedule repairs or replacement: Make sure your roofing system is restored to full function to prevent costly repairs later.
Using a checklist keeps the process organized and efficient—even during a stressful time.
🤔 Understand the Types of Roof Damage You May See
Knowing what kind of damage you’re facing can help you explain the situation clearly to both your insurer and your contractor.
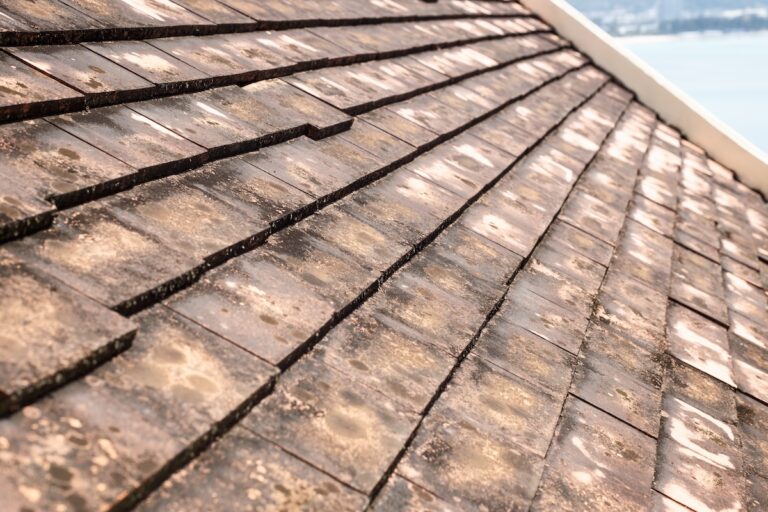
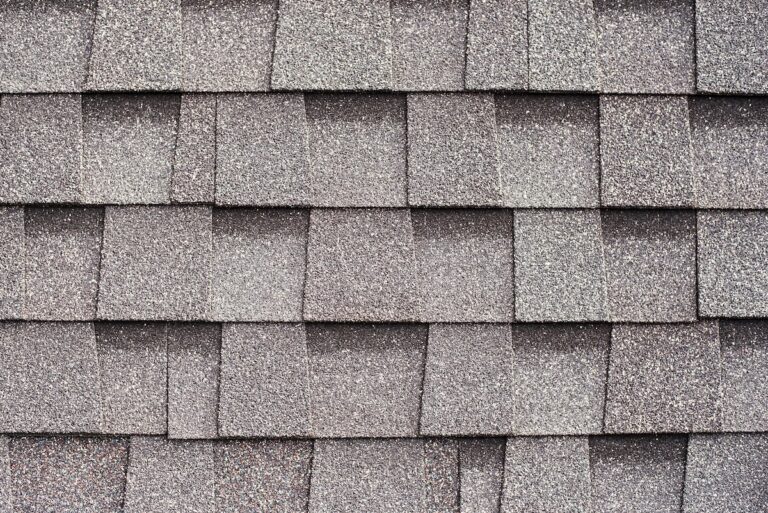
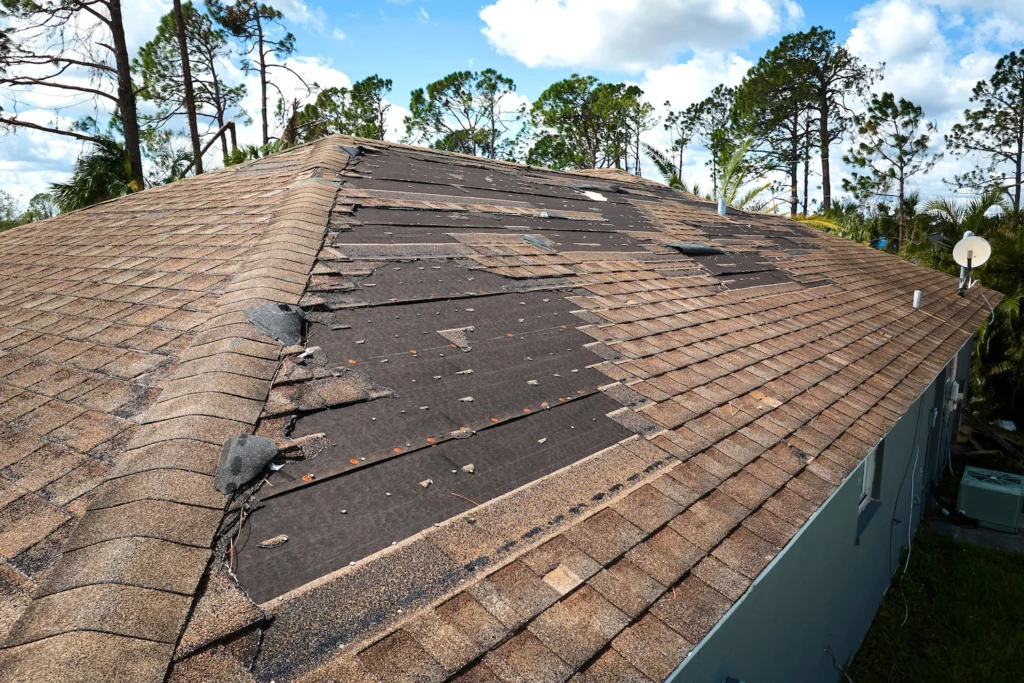
Shingle Loss and Surface Damage
High winds or hail can tear off or crack shingles, exposing the vulnerable layers underneath.
- Increased leak risk: Gaps allow moisture to soak the roof deck or insulation below.
- Premature aging: Missing granules or cracks lead to faster deterioration of your roofing system.
Ice Dams and Water Backups
In colder months, ice dams can block proper drainage and force water under shingles.
- Hidden water damage: You may not notice leaks until significant structural damage occurs.
- Mold and rot: Backed-up moisture affects wood framing, drywall, and insulation.
Debris and Fallen Objects
Branches or airborne debris from severe weather can damage both residential and commercial roofs.
- Impact dents or punctures: These often affect roof membranes or flashing, compromising their seal.
- Crushed roof penetrations: Vents, chimneys, or skylights can become cracked or dislodged.
📋 Plan for Future Protection With a Roof Maintenance Checklist
Prevention is just as important as response. Once repairs are complete, a seasonal roof maintenance checklist can help you stay ahead of future problems.
- Inspect roof penetrations: Ensure vents, skylights, and chimneys are properly sealed each season.
- Clear gutters and drains: Clogged drainage leads to pooling and ice dams.
- Look for signs of wear: Watch for curling shingles, moss growth, and degraded flashing.
- Trim nearby trees: Reduce the risk of impact from limbs during storms.
Following a maintenance plan helps extend your roof’s lifespan and protects your investment.
🤝 Choose the Right Roofing Partner
Whether you’re recovering from storm damage or trying to prevent it in the future, the right contractor makes all the difference.
- Look for a good roofing company: One with local experience, verified reviews, and proper licensing.
- Avoid out-of-town “storm chasers”: These pop-up companies often disappear before honoring warranties.
- Ask about commercial roofs too: Some residential contractors don’t offer service for flat or low-slope roof types.
Cannon is proud to offer expert service for both residential and commercial properties with a commitment to long-term roof health.
💪 Let G. Cannon Help You Recover With Confidence
When roof damage strikes, following a roof repair checklist is the best way to protect your home, avoid structural damage, and minimize costly repairs. At G. Cannon, we offer trusted guidance, prompt service, and expert craftsmanship to get your roofing system back in top shape—fast.
Whether you’re dealing with storm damage, ice dams, or general wear and tear, our team is ready to help. Contact G. Cannon today for a free estimate and let us take the stress out of the repair process.