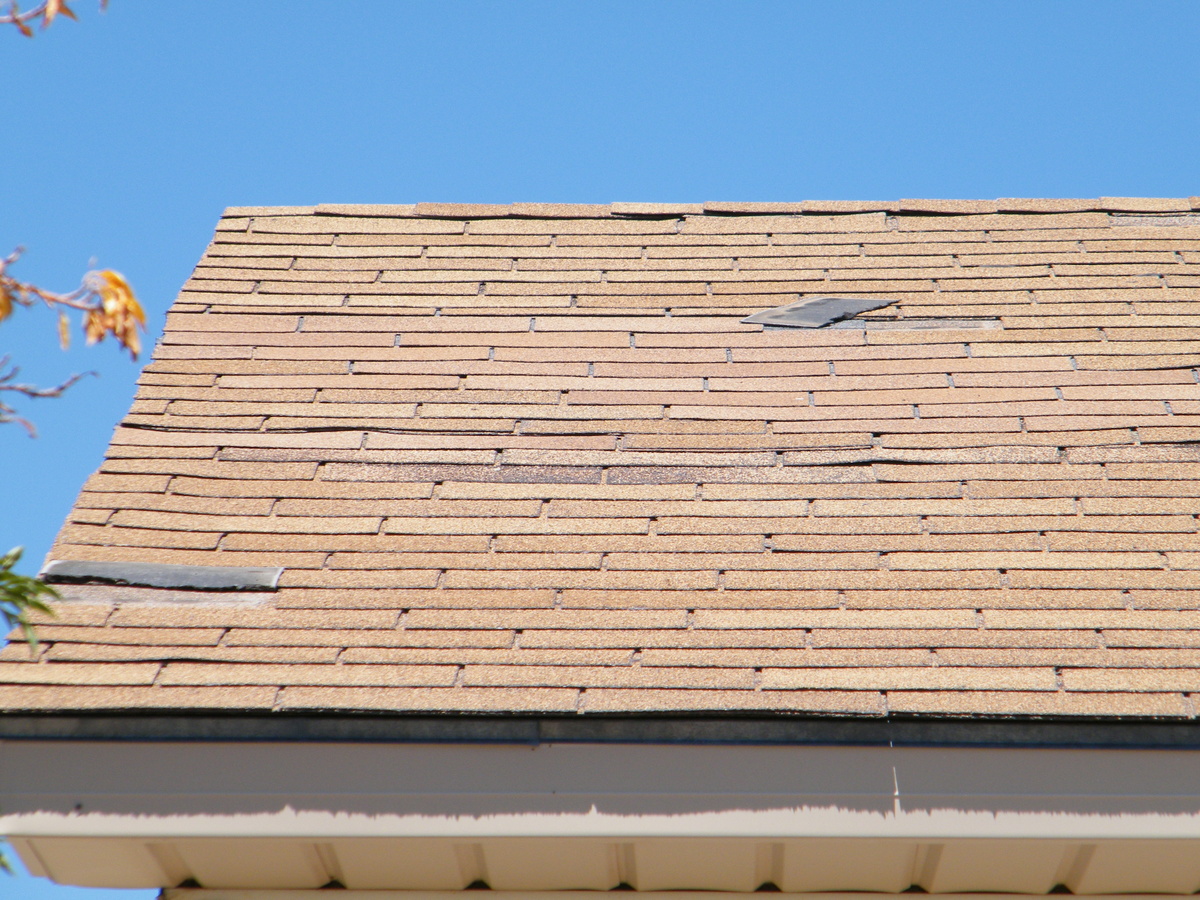
Dealing with missing shingles on roof systems can be a stressful experience for any homeowner. Whether it’s due to severe weather, age, or improper installation, missing shingles can lead to:
- Water damage
- Energy loss
- Structural issues if not addressed promptly
In this comprehensive guide, we’ll walk you through six essential steps to effectively deal with missing shingles on your roof, ensuring your home remains protected and secure.
Why Repair Missing Shingles Promptly?
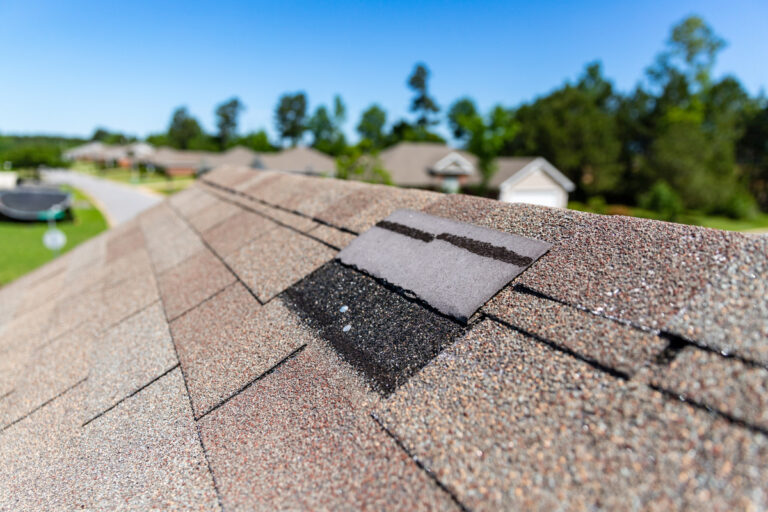
Addressing missing shingles promptly is crucial for several reasons:
- Prevention of Water Damage: Missing shingles expose your roof’s underlayment and decking to water infiltration. This can lead to leaks, water stains on ceilings and walls, and even mold growth.
- Preservation of Roof Integrity: Shingles play a critical role in protecting your roof from wind uplift and other weather-related damage. Prompt replacement maintains the structural integrity of your roof.
- Energy Efficiency: Missing shingles can contribute to energy loss as they compromise the insulation and ventilation of your attic space.
Cost to Replace Shingles
The cost of replacing shingles can vary based on several factors, including:
- Extent of Damage: The number of shingles that need replacement will impact the overall cost.
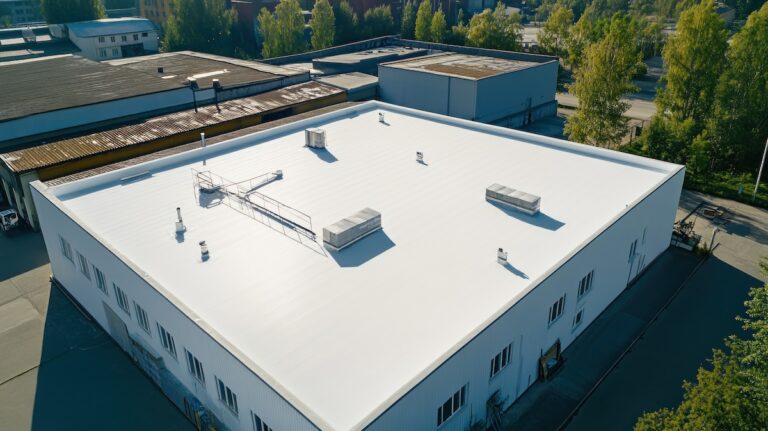
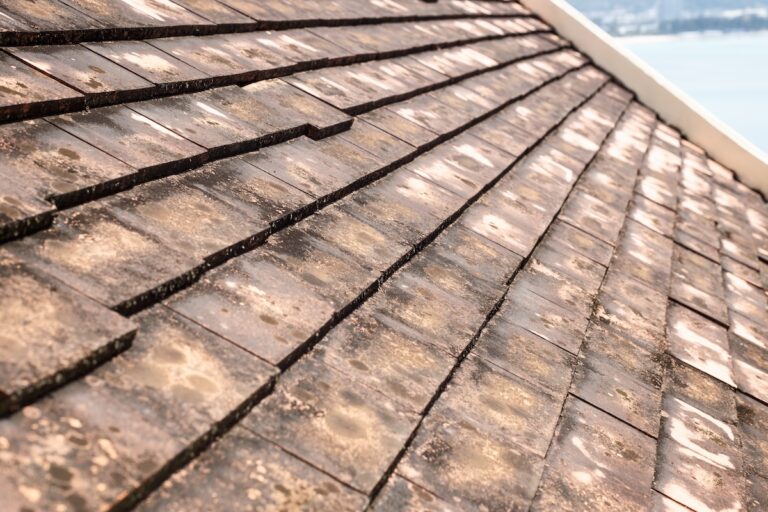
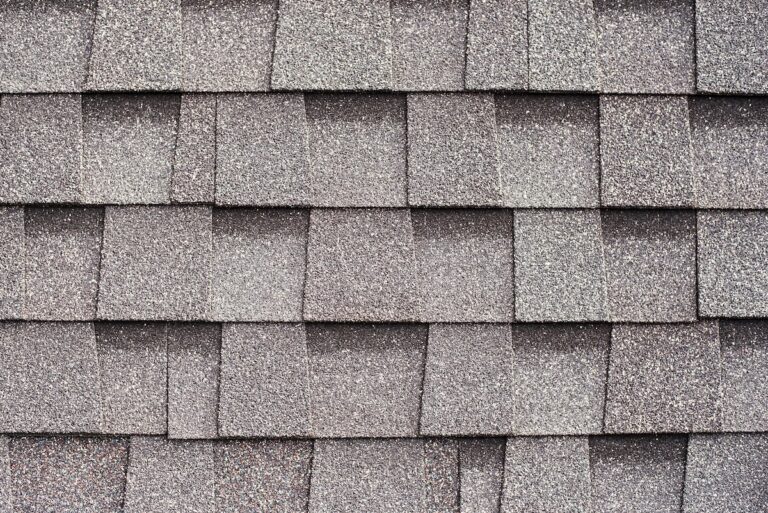
- Type of Shingles: Different types of shingles (e.g., asphalt, wood, metal) have varying costs per square foot.
- Roof Accessibility: Steeper roofs or those with multiple levels may require additional safety measures and labor costs.
- Local Labor Rates: Prices can vary based on your location and the availability of roofing contractors.
On average, homeowners can expect to pay between $100 and $300 per square (100 square feet) for shingle replacement. Additional costs may apply for labor, materials, and any necessary permits.
Insurance and Warranty Coverage
Whether insurance or warranties cover the cost of replacing missing shingles depends on the specific circumstances:
- Homeowners Insurance: Typically, homeowners insurance covers roof damage caused by unexpected events, such as storms or fallen trees. It’s essential to review your policy to understand coverage limits, deductibles, and exclusions.
- Manufacturer’s Warranty: Some roofing materials come with warranties that may cover defects or premature failure. Coverage specifics can vary, so review the warranty documents provided by the manufacturer.
To determine coverage eligibility, document the damage with photographs and consult with your insurance provider or roofing contractor. They can advise you on filing a claim and help navigate the process to ensure you receive the maximum benefit from your coverage.
6 Tips for Handling Missing Shingles
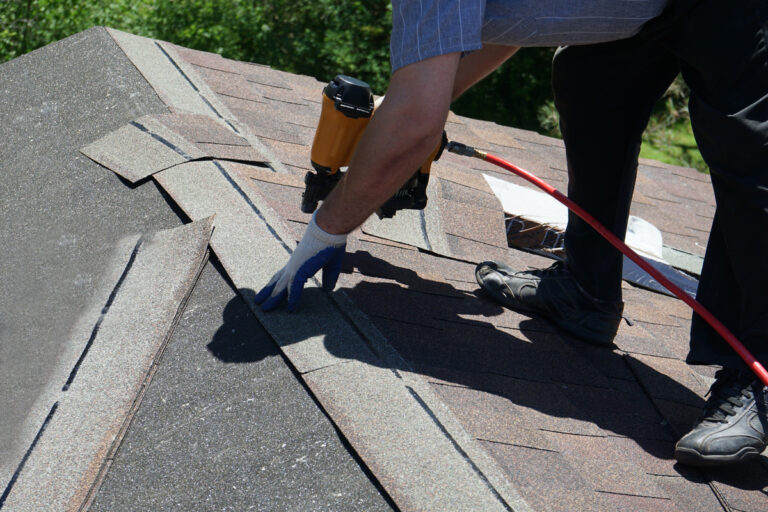
Wondering how to take care of your missing shingles? Follow these steps below for a solution you can count on.
Step 1: Assess the Damage
The first step in handling missing shingles is to assess the extent of the damage. Start by visually inspecting your roof from the ground using binoculars or from a ladder if it’s safe to do so. Look for obvious signs of missing or damaged shingles, such as bare spots, curled edges, or pieces of shingle debris on the ground. Take note of any areas where the roof decking or underlayment may be exposed.
Step 2: Gather Necessary Materials
Before you begin repairs, gather the necessary materials and tools:
- Replacement shingles (match the existing ones as closely as possible)
- Roofing nails
- Hammer or nail gun
- Roofing adhesive or sealant
- Pry bar or shingle remover
- Safety gear (gloves, goggles, and sturdy shoes)
- Ladder and harness (if working at heights)
Having these items on hand will streamline the repair process and ensure you can address the issue promptly.
Step 3: Remove Damaged Shingles
Carefully remove any damaged or missing shingles using a pry bar or shingle remover. Start at the top of the damaged area and work your way down, being cautious not to damage adjacent shingles. Lift the edges of the shingles above the damaged area and carefully pry out the nails holding the damaged shingles in place.
Step 4: Replace Missing Shingles
Once the damaged shingles are removed, replace them with new ones. Slide the new shingle into place, ensuring it aligns with the surrounding shingles and lays flat against the roof deck. Secure the shingle with roofing nails in each corner, using roofing adhesive or sealant to ensure a tight seal and prevent water infiltration.
Step 5: Seal and Secure
After replacing the shingles, apply roofing adhesive or sealant along the edges and corners to secure them firmly in place. This step is crucial for preventing wind uplift and water penetration. Press down gently on the shingle to ensure a good bond with the adhesive.
Step 6: Inspect and Maintain
Once the repairs are complete, inspect the surrounding shingles and roof area for any signs of damage or wear. Address any additional issues promptly to prevent future problems. Regular maintenance, including annual roof inspections and timely repairs, can extend the lifespan of your roof and minimize the risk of further damage.
Missing Shingles? We’ve Got You Covered
Dealing with missing shingles on your roof doesn’t have to be daunting. By following these six essential steps—assessing the damage, gathering materials, removing damaged shingles, replacing missing shingles, sealing and securing, and inspecting and maintaining—you can effectively address the issue and protect your home from potential water damage and structural issues. Remember, if you’re unsure about tackling roof repairs yourself, it’s always best to consult with a professional roofing contractor to ensure the job is done safely and effectively.
By taking proactive steps to maintain your roof’s integrity, you’ll not only enhance your home’s curb appeal but also ensure its long-term durability and protection against the elements.
