Flat roofs are a popular choice for both commercial and residential buildings due to their modern aesthetic, cost-effective design, and usable space. But let’s talk about the one challenge they can present—drainage problems. Unlike pitched roofs, flat roofs don’t naturally allow water to flow off. Without a proper slope or drainage system in place, water can pool on the roof, leading to:
- Leaks
- Material degradation
- Costly damage
The good news? With careful planning and execution, sloping a flat roof for drainage is not only possible but also beneficial for prolonging its lifespan. Whether you’re a homeowner or a property manager, understanding how to slope a flat roof can save you time, money, and frustration in the long run.
Here’s a detailed article on how to slope a flat roof for drainage.
Why Proper Drainage on Flat Roofs Is Essential
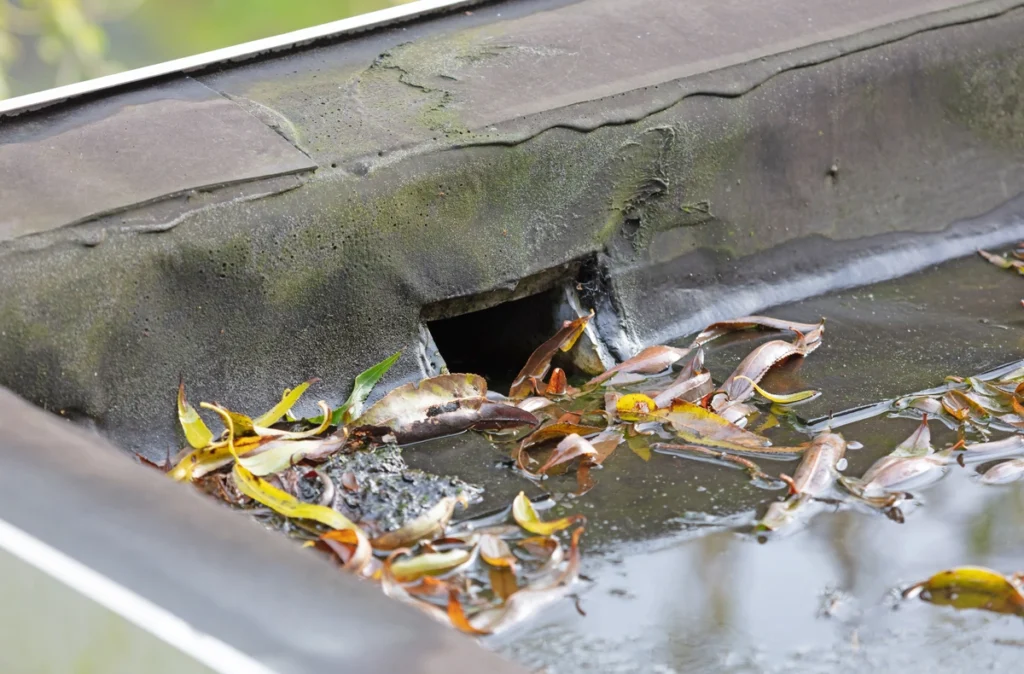
Flat roofs often appear deceptively simple, but their structural design needs to account for water management. Without proper drainage, issues like standing water, commonly known as ponding water, can have long-term consequences:
- Material Deterioration: Constant exposure to standing water can degrade roofing materials, especially if they’re not designed to handle prolonged moisture.
- Leaks and Water Intrusion: Water pooling on the roof increases the risk of leaks, potentially damaging the interior of your building.
- Added Weight: Water weighs about 8 pounds per gallon. Excessive pooling puts unnecessary stress on your roof’s structure, which could lead to sagging or even collapse.
- Mold and Mildew Growth: Standing water creates a perfect breeding ground for mold and mildew, which can spread through your building and create health concerns.
The solution? A well-sloped flat roof that ensures water drains efficiently, reducing the likelihood of these costly problems.
Understanding the Slope of a Flat Roof
Contrary to the term “flat roof,” these roofs aren’t completely flat. Professional roofers typically construct them with a slight slope—usually about 1/4 inch to 1/2 inch per foot. This incline is just enough to allow water to flow toward designated drainage points.
Here’s how to determine the slope that’s right for your roof:
- Low Slopes (1/4 inch per foot): Ideal for smaller roofs with less water accumulation.
- Steeper Slopes (1/2 inch per foot): Better for larger roofs or regions with heavy rainfall.
The Role of Roof Drains
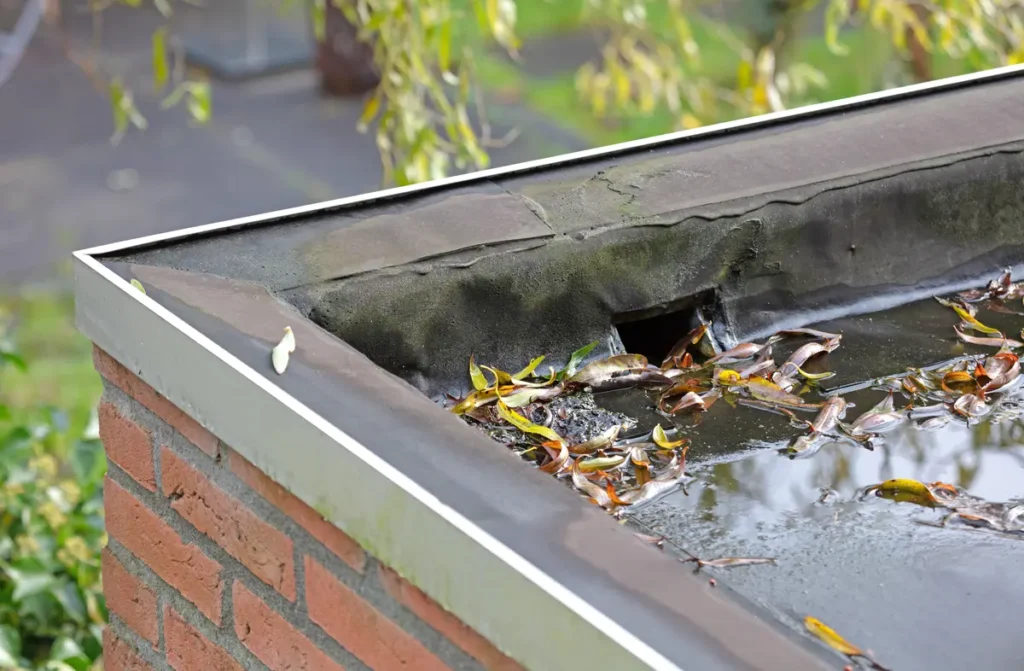
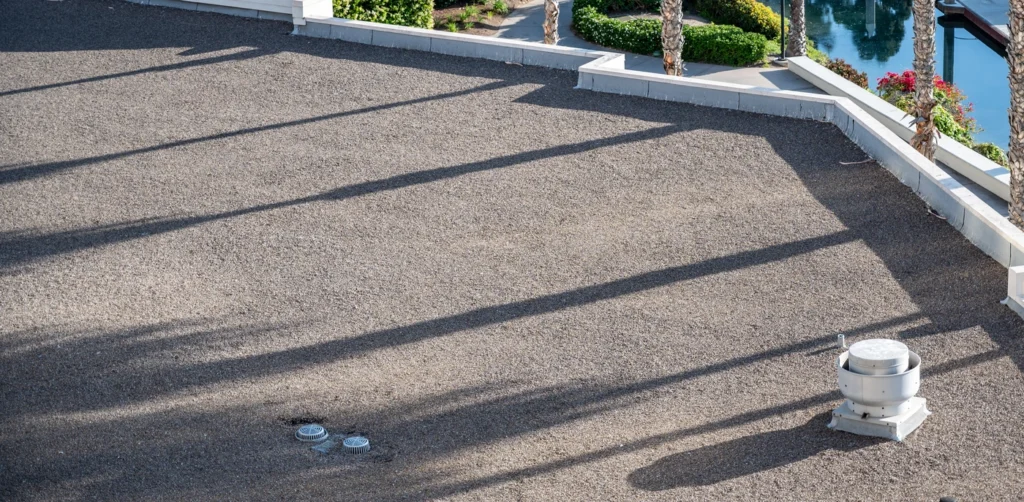
The slope’s primary purpose is to direct water toward multiple drainage points, including:
- Gutters and downspouts
- Internal drains connected to plumbing
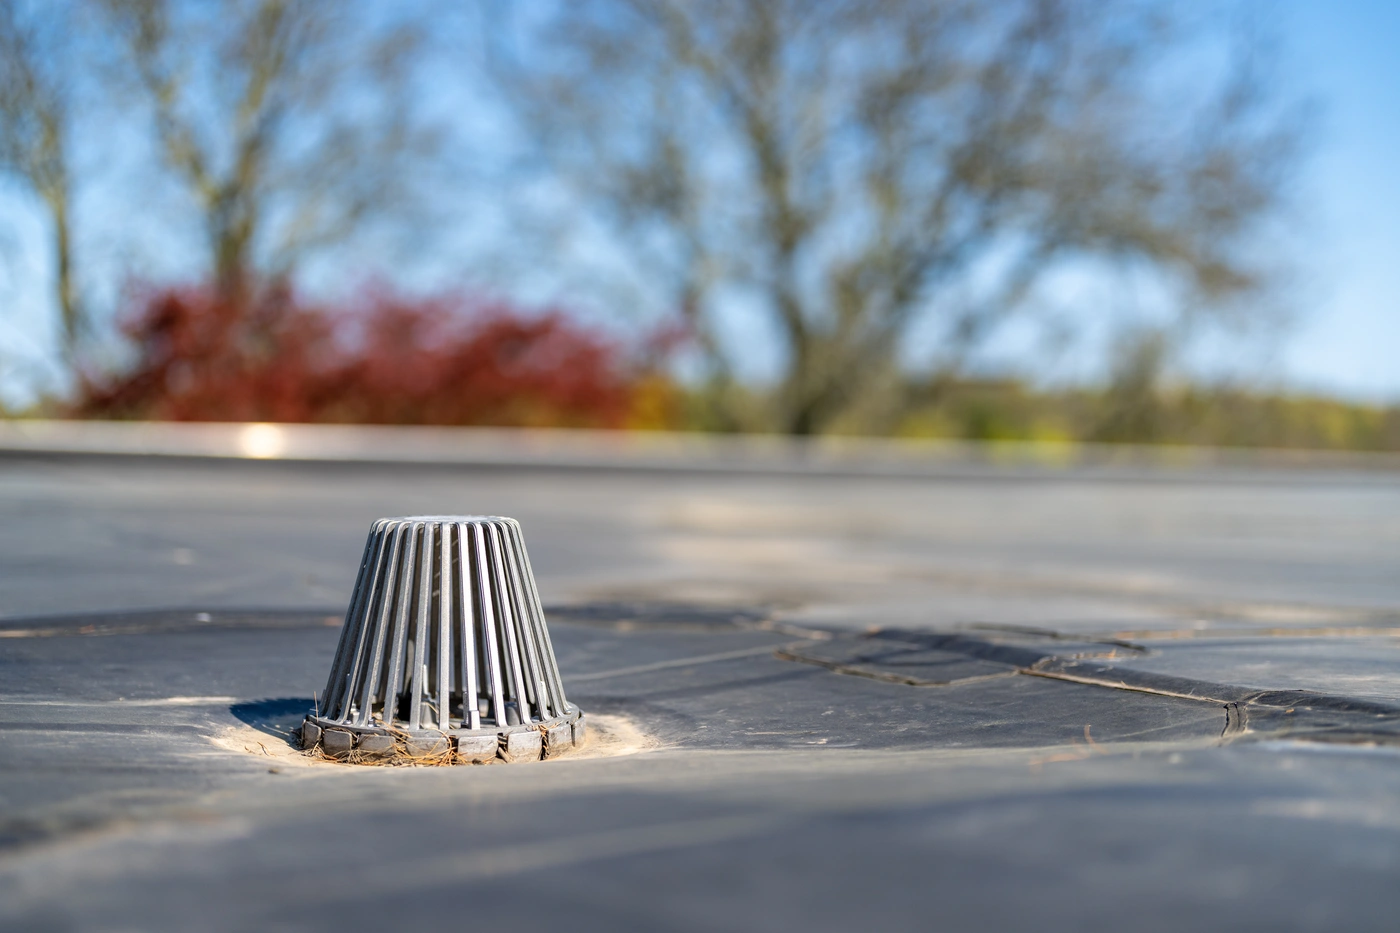
- Scuppers (openings on the roof’s edge for water to exit)
Now, let’s explore how to achieve effective drainage through sloping.
Methods for Sloping a Flat Roof
When it comes to sloping a flat roof for drainage, there are several different approaches. Here’s a closer look at the most effective methods.
Tapered Insulation Systems
Tapered insulation is one of the most common and practical methods to create slope on a flat roof. This system uses layers of insulation cut at an angle to gradually build up the slope while providing energy efficiency benefits.
Benefits of Tapered Insulation:
- Customizable Slope: Adjust the layers to achieve consistent drainage.
- Improved Insulation: Provides thermal protection, helping reduce energy bills.
- Lightweight Solution: Adds minimal weight to your roof structure.
Installation Tips:
- Begin with a thorough evaluation to identify low points where water typically pools.
- Work with a professional commercial roofing contractor to design and install a tapered insulation plan tailored to your roof’s dimensions and needs.
Crickets and Saddles
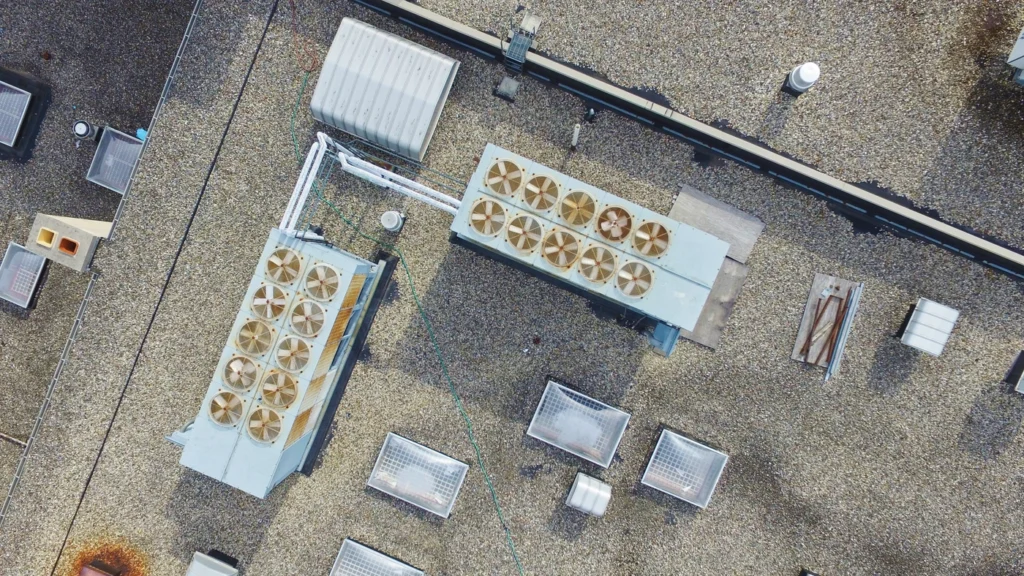
Crickets and saddles are small, sloped structures installed on flat roofs to direct water toward drains or away from HVAC equipment, chimneys, or skylights.
How They Work:
- Crickets redirect water from larger drain areas or obstacles like chimneys.
- Saddles are used at junctions to ensure water doesn’t stagnate where two sections meet.
Materials Typically Used:
- Built-up roofing systems (BUR) with sloped layering.
- Tapered insulation underlays for seamless integration with the roof membrane.
Build-Up with Structural Slope
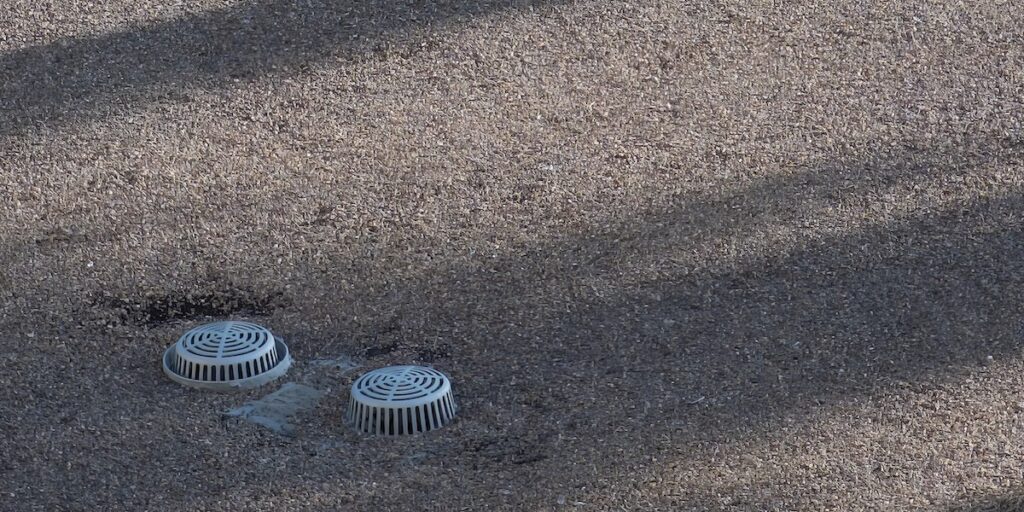
If you’re designing or replacing an entire roof, you can integrate structural slope directly into the roof deck. By constructing the roof with a subtle incline, water naturally flows toward drain points.
Advantages:
- Seamless design built directly into the building’s structure.
- Reduces need for extensive post-construction modifications.
Considerations:
- Best for new builds or full reroofing projects.
- Requires an experienced contractor or structural engineer to calculate weight loads and slope angles accurately.
Roof Overlay
If your flat roof has drainage issues, a roof overlay can be a cost-effective way to resolve them without replacing the entire roof. By applying additional materials, such as cement or tapered insulation, over the existing surface, you can create a slope to redirect water.
Key Benefits:
- Quick Fix for drainage without a full replacement.
- Equally compatible with older and newer flat roof systems.
Potential Drawbacks:
- Adds weight to the existing structure.
- May not be a permanent solution if underlying issues persist.
Adding Internal Drains or Scuppers
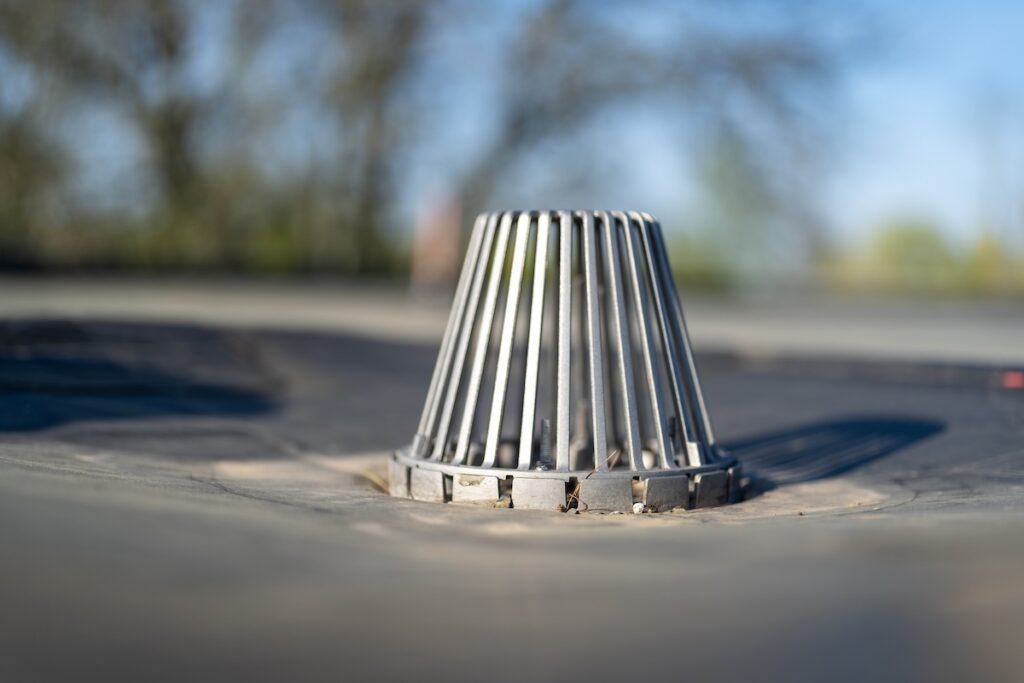
Sometimes sloping alone isn’t enough, especially for large flat roofs. Adding drainage points like internal drains or scuppers along the roof further ensures no water is left behind. Internal drains connect to the building’s plumbing, while scuppers provide external water outlets.
Things to Keep in Mind:
- Ensure internal drainpipes are free from clogs by scheduling regular maintenance.
- Scuppers work well with parapet walls to prevent water accumulation in corners.
Proper Membrane Selection
Flat roofs are typically covered with waterproof membranes, such as EPDM, TPO, or modified bitumen. While these materials don’t create slope themselves, they’re critical for preventing leaks in areas where minimal pooling may occasionally occur.
Tips for Success:
- Work with a roofing professional to identify the right membrane for your roof.
- Ensure proper installation with no folds or imperfections in the material.
7 Steps to Slope a Flat Roof for Drainage
Now that we’ve explored the methods, here’s a step-by-step breakdown to implement these techniques effectively.
Step 1. Assess the Roof Condition
Conduct a thorough inspection of the roof to identify existing low spots and drainage issues. Look for:
- Water stains or evidence of pooling.
- Cracks, leaks, or damaged material.
- Existing drainage points.
Step 2. Plan the Slope Design
Decide which slope method suits your roof best. Depending on the structure, size, and budget, choose tapered insulation, structural slope, crickets, or overlays.
Step 3. Select Drainage Points
Identify where the water will flow. Plan for the installation or repair of gutters, internal drains, and scuppers as needed.
Step 4. Prepare the Roof Surface
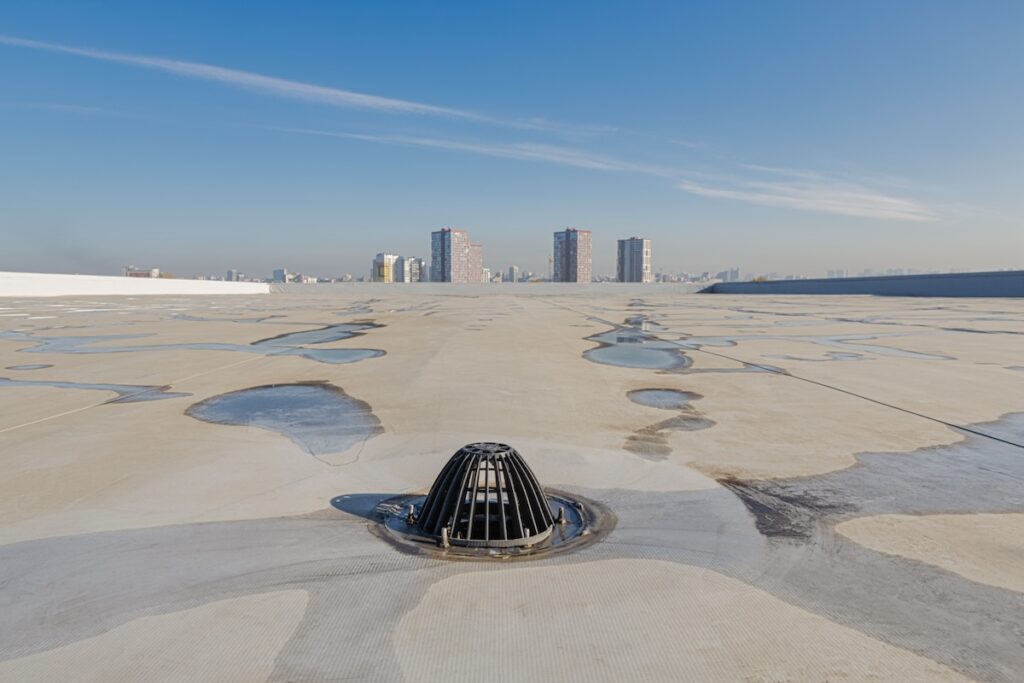
Clean the roof and repair any existing damage to create a suitable base for your sloping materials. This step ensures durability and reduces potential complications down the road.
Step 5. Install Slope Material
For methods like tapered insulation or overlays, layering is critical. Work in sections, gradually building the slope toward the designated drainage points.
Step 6. Apply a Waterproof Membrane
Seal your newly sloped roof with a high-quality waterproofing membrane or coating to protect against leaks.
Step 7. Test and Maintain
Once the slope is complete, test your drainage system by pouring water on the roof and observing how efficiently it flows toward the drains. Ensure consistent maintenance to keep drains clear and the roof in good condition.
Partner with G. Cannon Roofing for Professional Assistance
Sloping a flat roof for drainage isn’t a DIY job—it requires expertise and precision to avoid damaging your roof or creating larger issues. That’s why G. Cannon Roofing is here to help.
With years of experience helping homeowners and property managers in creating effective roofing systems, we’re your trusted partner for all things roofing. From tapered insulation systems to drainage solutions, our team ensures your flat roof stays leak-free and long-lasting.
Why Work with Us?
- Experienced and certified roofing professionals.
- Tailored solutions specific to your roof’s size, shape, and challenges.
- High-quality materials and impeccable craftsmanship.
Don’t let poor drainage compromise your flat roof. If you’re ready to address ponding issues or design a new slope for ultimate peace of mind, contact G. Cannon Roofing.
