
Knowing how to install ridge cap shingles is key to finishing your roof the right way. Ridge cap shingles not only add a polished appearance to your home but also protect one of the most vulnerable areas—the roof peak. Proper installation ensures your roof system is sealed against wind, rain, and pests, while also improving ventilation if ridge vents are in place.
- Final roof layer: Ridge caps cover the highest point where roof slopes meet.
- Weather defense: They prevent water from seeping into the ridge line.
- Aesthetic detail: Ridge caps provide a clean, dimensional look to your roof.
This guide outlines the step-by-step process for installing ridge cap shingles, so you understand how this final piece of the puzzle plays a crucial role in improving your roof’s performance.
🤔 What Are Ridge Cap Shingles?
Definition and Purpose
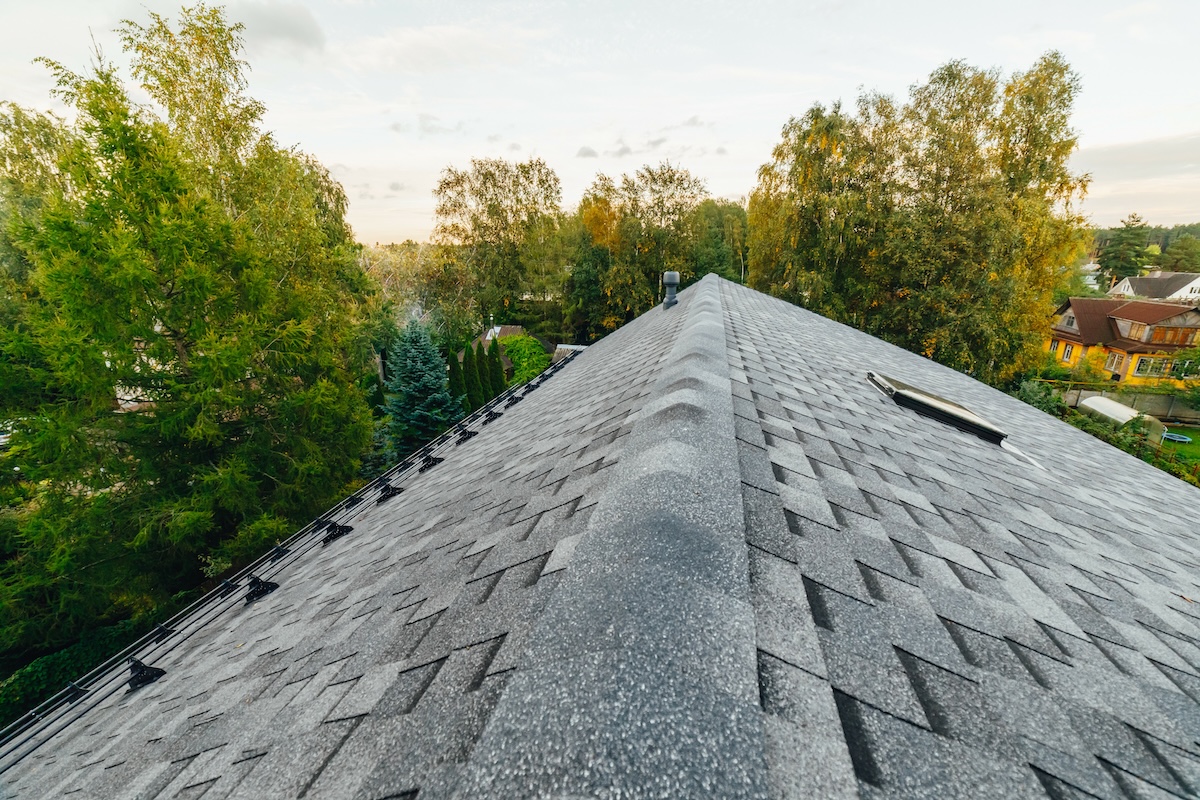
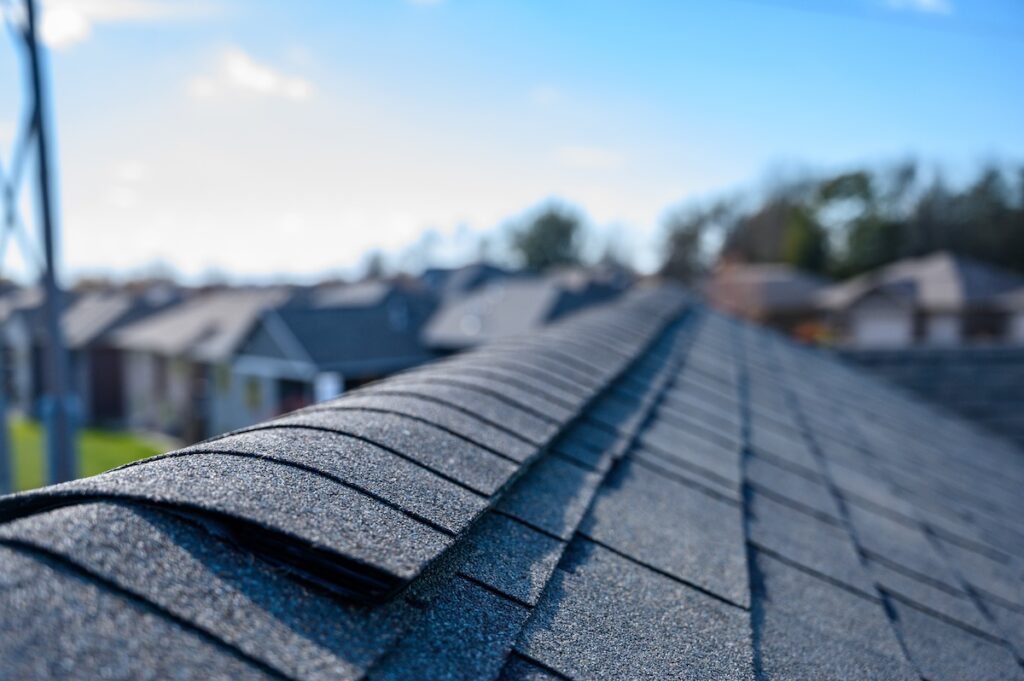
Ridge cap shingles are specifically designed to cover the peak of a sloped roof, where two sides meet at the ridge.
- Design features: Thicker, more durable, and pre-cut to fit the roof’s highest point.
- Material: Usually made from asphalt, but available in metal or composite to match your main roof.
- Compatibility: Often installed over ridge vents for a seamless finish that allows air to flow out of the attic.
❗️ Why Ridge Caps Matter
Weather Protection
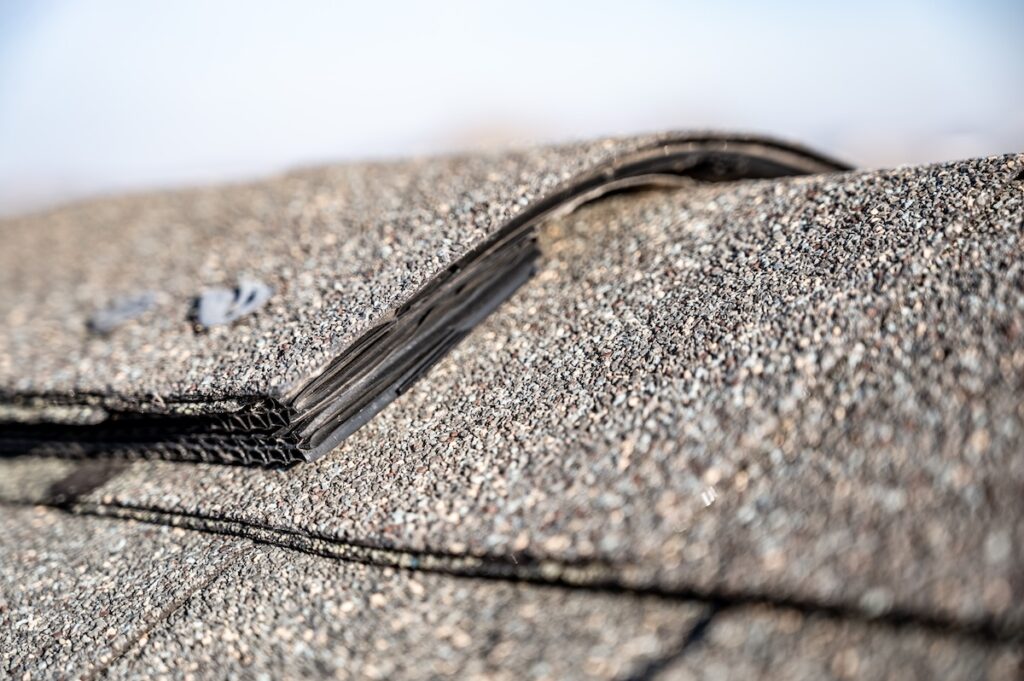
The ridge is one of the most exposed areas of your roof. Without proper coverage, water, snow, hail, and wind can easily find a way into your attic or damage the roof deck. Ridge cap shingles act as a final seal that strengthens the roof’s overall defense.
- Water barrier: Ridge caps seal the top seam where shingles meet, preventing water from seeping beneath the roofing system during heavy rain and hail.
- Wind resistance: They help prevent wind uplift in extreme weather, especially in open areas or storm-prone regions.
- Snow control: In cold climates, ridge caps keep melting snow from penetrating the roof and protect the attic from ice-related moisture problems.
Finished Look
Beyond function, ridge cap shingles help complete the look of your roof. Instead of raw edges or visible nail lines, ridge caps add symmetry and texture to the peak. A properly installed ridge cap blends seamlessly with the rest of the roof, enhancing your home’s curb appeal and creating a cohesive, high-quality appearance. When the final result exceeds your expectations, that’s when you know you have found the finest roofing allies in Pennsylvania.
📋 5 Step Guide: How to Install Ridge Cap Shingles
1. Prepare the ridge area
Make sure your roof is completely shingled, and the ridge is clean, dry, and free of debris. If you’re installing a ridge vent, it should be securely in place before laying the ridge cap shingles.
- Clear debris: Dirt, sawdust, or leftover shingle granules can affect adhesion.
- Inspect ridge line: Ensure the peak is straight and nails are flush to avoid bumps.
2. Cut ridge cap shingles if needed
Some shingles come pre-cut for ridge applications, but others require trimming, especially metal shingles and panels.
- Cut to size: Use a utility knife to cut standard three-tab shingles into thirds.
- Round the edges: Taper the exposed edge slightly for a finished look.
3. Align your first cap shingle
Start at the end of the ridge that faces away from prevailing winds. Each ridge cap should overlap the previous one to create a shingle-style water barrier.
- Overlap rule: Each shingle should overlap the one beneath it by 5 to 6 inches.
- Center it: Align each cap evenly across the ridge line for balance and function.
4. Nail shingles in place
Use roofing nails long enough to penetrate the ridge cap, vent (if applicable), and roof decking. Nails should be driven about 1 inch up from the exposed edge, and each shingle should get two nails.
- Nail placement: Keep nails covered by the next shingle to prevent water exposure.
- Consistent spacing: Even alignment improves both performance and aesthetics.
5. Cap off the final shingle
The last shingle at the ridge peak needs to be sealed since there will be no shingle covering it.
- Sealant use: Apply roofing cement or an adhesive strip to secure the exposed edge.
- Optional tip: Some professional roofing contractors cut the final cap slightly larger to improve adhesion.
⭐️ Tips for Ridge Cap Installation Success
- Work in fair weather: Shingles adhere best in moderate temperatures and dry conditions.
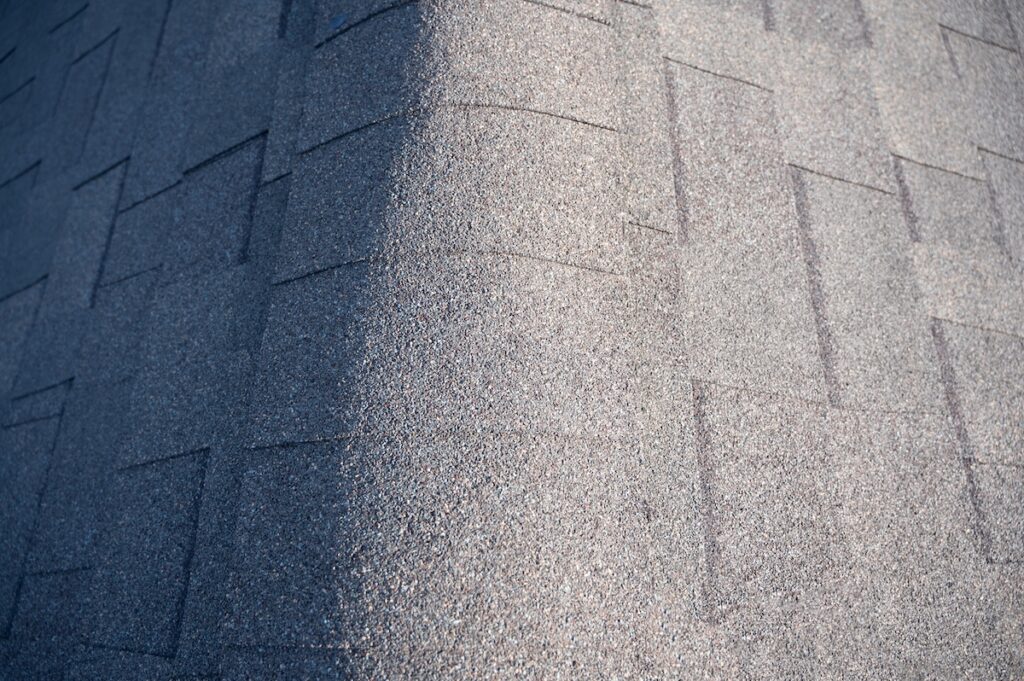
- Use matching material: Use ridge cap shingles from the same product line or manufacturer to ensure uniform color and performance.
- Stay safe: Ridge work requires harnesses and sure footing—leave it to the pros if unsure.
- Mind the ridge vent: Don’t crush or block ridge vents during installation; caps should sit snug without pressing down.
- Check roof pitch: Steeper roofs may need extra fastening to secure ridge shingles against uplift.
❌ Common Mistakes to Avoid
- Overdriven nails: Nails driven too deep can damage the shingle or reduce wind resistance.
- Improper overlaps: Too little overlap may allow water to penetrate; too much can waste material and look bulky.
- Skipping sealant: The last cap always needs extra adhesive to keep it secure.
- Mismatched products: Using a different brand or color can make the ridge line stand out awkwardly.
- Rushing the job: Installing ridge cap shingles too quickly can lead to uneven alignment or weak coverage.
💪 Finish Strong With Ridge Cap Shingles
Knowing how to install ridge cap shingles helps you understand the importance of finishing your roof the right way. These protective shingles may seem like a small detail, but they serve a big role as part of your roofing process in order to shield your home from the elements and enhance its overall appearance.
G. Cannon ensures every roof installation is done right—right down to the ridge cap. If your current roof needs repair or replacement, or you’re planning a new installation, contact us today for a free estimate. We’ll handle the details from edge to peak.