
Learning how to install drip edge is essential for homeowners who want to protect their roof and extend its lifespan. A drip edge is a metal flashing installed along the edges of the roof to guide water away from the fascia and into the gutters. Without it, your roof is more vulnerable to water intrusion, rot, and pest damage.
- Water protection: Drip edge keeps rainwater from seeping into your roof deck and fascia.
- Roof system support: It adds structure and helps secure underlayment in place.
- Code compliance: Many local building codes now require drip edge installation on new roofs.
This guide walks you through the process step by step so you can understand how drip edge fits into a reliable roofing system.
🤔 What Is a Drip Edge?
Definition and Purpose
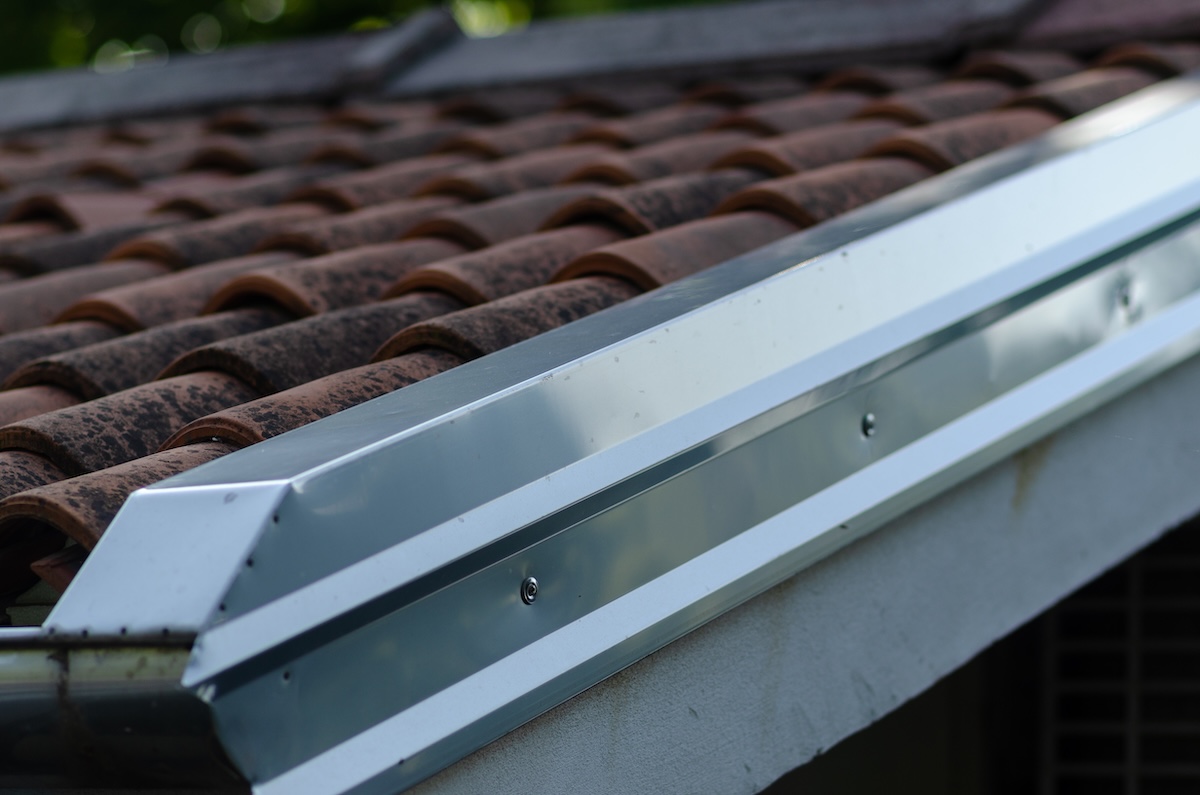
Drip edge is a type of L-shaped or T-shaped metal flashing that is installed along the eaves and rakes of your roof. It acts as a barrier that directs rainwater away from the fascia board and into the gutters.
- Material types: Most drip edge is made from aluminum, galvanized steel, or copper.
- Standard placement: It’s installed before shingles and over or under the underlayment, depending on roof edge location.
- Durability factor: Drip edge resists rust and provides long-term protection against moisture and moss damage.
❗️ Why Drip Edge Is Important
Water Damage Prevention
Without drip edge, water can wick back under shingles and into your roof deck.
- Fascia rot prevention: It keeps water from reaching the wooden fascia board.
- Foundation protection: By guiding water into the gutter, it helps reduce splashback and erosion near the home’s base.
- Shingle longevity: It prevents water from curling under the edge of shingles.
Roof Code Requirements
In many areas, drip edge is required by building codes for both new roof installations and old roof repairs.
- Compliance: Most jurisdictions enforce its use to meet wind uplift and water protection standards.
- Inspection readiness: Missing or poorly installed drip edge can cause a home to fail inspection.
✅ 6-Step Process: How to Install Drip Edge on a Roof
1. Prepare the roof edge
Clean the roof decking at the eaves and remove any debris. If you’re replacing an old roof, make sure all remnants of old flashing or underlayment are removed before installation begins.
2. Install underlayment (eave only)
Start by installing roofing underlayment across the roof. For the eaves (bottom edges), the drip edge goes under the underlayment. This helps guide water over the metal flashing and off the roof.
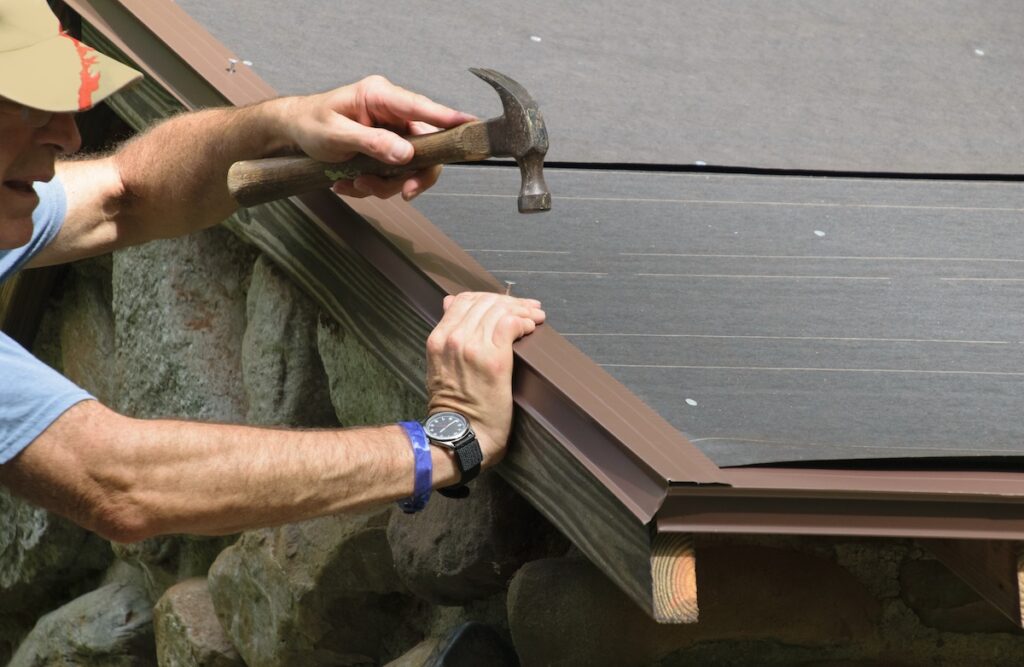
3. Measure and cut drip edge
Measure the length of each roof edge and cut the drip edge to fit using metal snips. When cutting the metal panels, pre-bend the corners as needed for rake edges or valleys.
- Cut safety: Wear gloves when cutting to prevent sharp-edge injuries.
- Overlap rule: Pieces should overlap by at least 2 inches to maintain a continuous barrier.
4. Position drip edge on eaves
Lay the drip edge along the eave so that the shorter leg rests over the fascia and the longer leg lies flat on the roof deck.
- Proper angle: Ensure the lower lip angles outward so water is directed away from fascia.
- Nailing spacing: Use roofing nails every 8 to 10 inches to secure the drip edge.
5. Install underlayment on rake edges
Once the eaves are finished, move to the rake edges (the angled sides). For these areas, the underlayment should go under the drip edge.
- Layering technique: This sandwiching method ensures water doesn’t get trapped beneath the underlayment.
- Corner detail: Bend or miter the drip edge pieces at the corners to create clean, sealed transitions.
6. Nail and seal the drip edge
Secure the drip edge with galvanized or stainless-steel roofing nails. Make sure all edges are flat and snug against the roof deck.
- No gaps: There should be no visible space between the drip edge and the decking.
- Check alignment: Ensure each piece follows the roof edge for a straight, professional look.
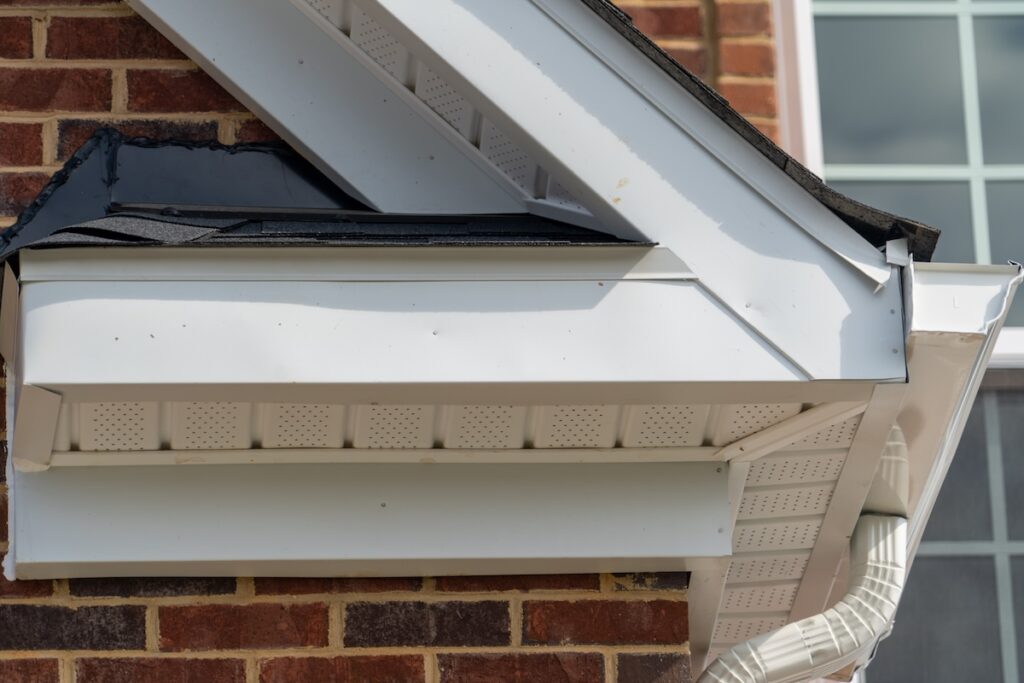
📋 Drip Edge vs Gutter Flashing
Though they serve similar purposes, drip edge and gutter flashing are not the same—and understanding the distinction helps homeowners ensure full protection along the roof edge.
- Drip edge: Installed directly under shingles and along roof edges to redirect water into gutters. It prevents water from wicking back onto the roof deck or fascia, especially at the eaves and rake edges.
- Gutter flashing: Tucks behind fascia and overlaps gutter edges to close gaps between gutter and roof. It’s primarily used to stop water from leaking behind the gutters and causing rot or stains on exterior walls.
- Combined use: In some installations, both types of flashing are used together to create an ultra-secure water management system. When paired correctly by the meticulous hands of roofers, they help direct water precisely into the gutters while keeping all roof edges sealed and protected from moisture intrusion.

⭐️ Tips for a Clean and Effective Installation
- Use the right nails: Choose rust-resistant fasteners designed for roofing. Galvanized or stainless-steel nails prevent corrosion and ensure the drip edge stays securely in place for years.
- Avoid shortcuts: Don’t skip rake edge flashing—water can enter from the sides and cause hidden damage. Full perimeter installation offers complete moisture protection.
- Mind the corners: Pre-bent or notched corners help avoid bulky overlaps. A clean corner fit not only looks better but also reduces the chance of leaks and wind lift.
- Install before shingles: Always install drip edge first to prevent lifting or water intrusion. When perfectly installed, shingles laid over the drip edge seal it in and create a watertight barrier.
- Check local codes: Requirements vary, so confirm what’s required in your area. Some jurisdictions have specific rules about nail spacing, material thickness, or edge overhang.
👍 Secure Your Roof With Proper Drip Edge Installation
Knowing how to install drip edge gives you a better understanding of how a well-installed roof protects your home. Though it’s a small component, drip edge plays a big role in managing water flow, protecting fascia, and extending the life of your roofing system.
G. Cannon ensures every roof we install includes properly aligned and secured drip edge flashing. Contact us today for a free estimate and trust that your home’s protection starts from the edges up.