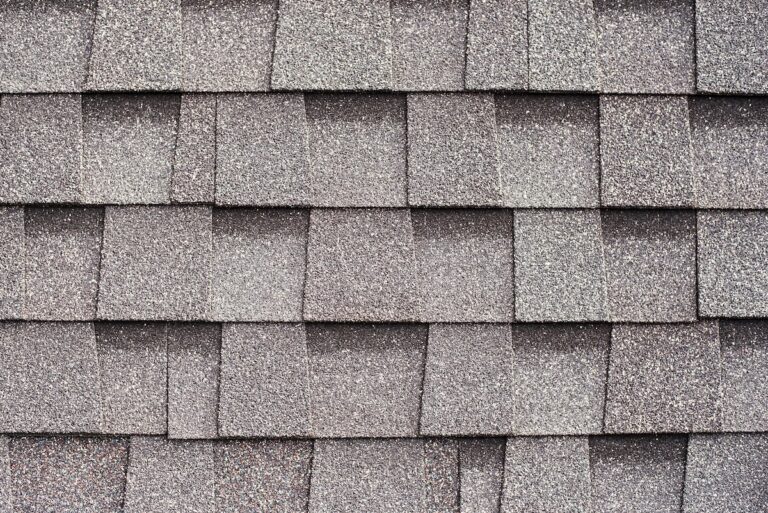

Learning how to install architectural shingles is a valuable skill for homeowners who want to understand the process of upgrading their roof. Architectural shingles, also known as dimensional or laminated shingles, are more durable and attractive than standard 3-tab shingles. They not only improve curb appeal but also provide better resistance to wind, rain, and long-term wear. Whether you plan to do the installation yourself or hire professionals, knowing the steps involved will help you make smart decisions about your roof.
- Durability advantage: Architectural shingles last longer and perform better in harsh conditions.
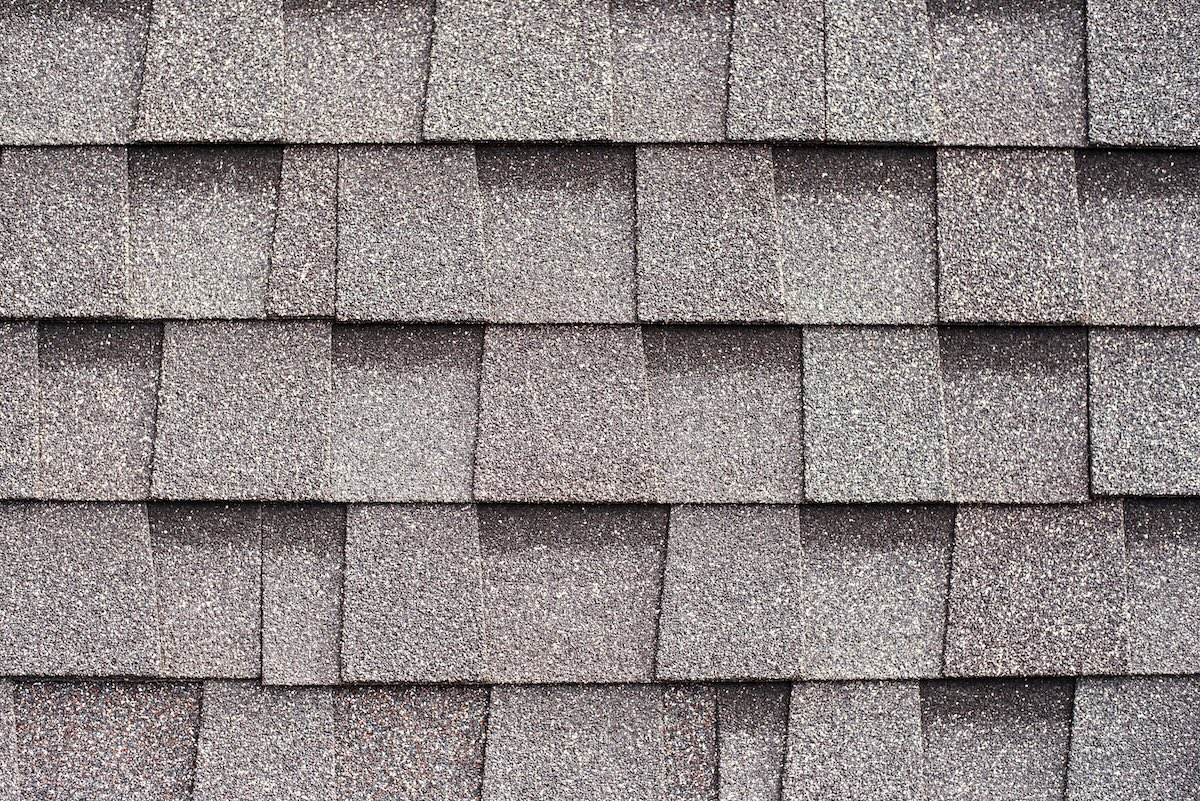
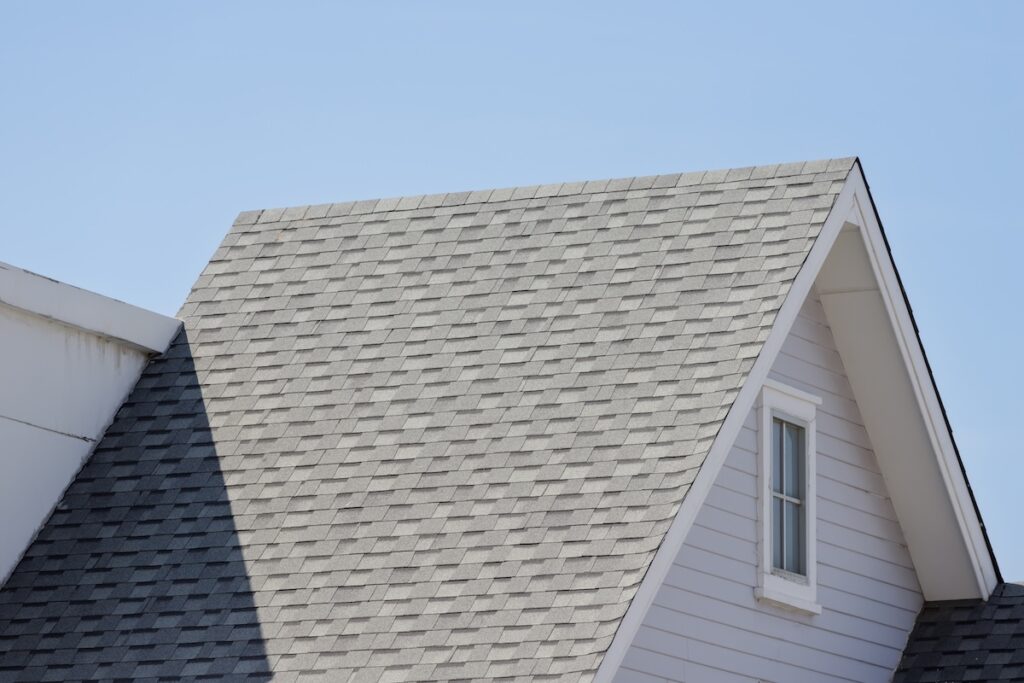
- Curb appeal boost: The layered look of dimensional shingles adds depth and style to your home.
- Value investment: A properly installed roof increases resale value and reduces maintenance costs.
Why Choose Architectural Shingles?
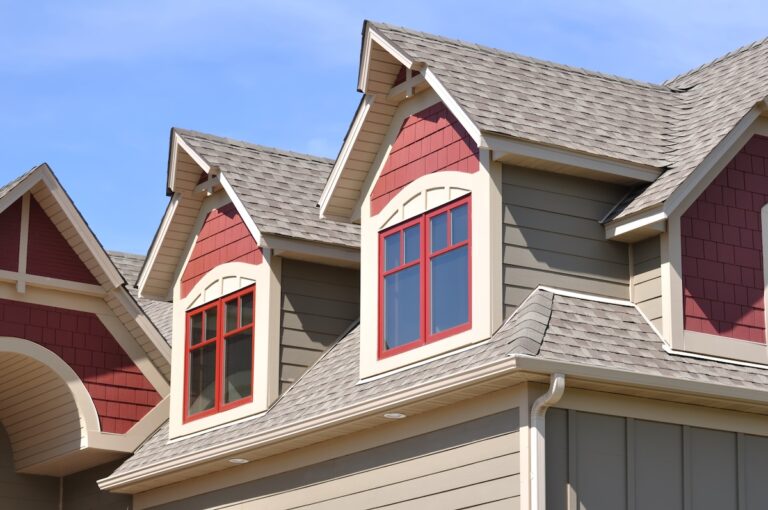
Architectural shingles are a popular choice for homeowners in Ardmore and surrounding areas because of their combination of strength and style. Unlike basic shingles, they are manufactured with multiple layers that create a thicker, more durable product. This design offers enhanced wind resistance and longer warranties, often ranging from 30 years to lifetime coverage.
They also come in a wide variety of colors and patterns, allowing homeowners to match their roof with siding and trim for a cohesive look. Choosing architectural shingles ensures your roof is both functional and visually appealing, which is especially important if you plan to sell your home in the future.
Tools and Materials Needed
Before beginning the installation, gather the right tools and materials. Being prepared makes the process safer and more efficient.
- Architectural shingles: Purchase enough bundles to cover your entire roof with extras for waste.
- Roofing nails: Use galvanized nails for durability and rust resistance.
- Roofing underlayment: Provides an added moisture barrier beneath the shingles.
- Starter strip shingles: Create a solid base layer along the edges of the roof.
- Drip edge flashing: Protects roof edges from water infiltration.
- Hammer or nail gun: Essential for securing shingles quickly and accurately.
- Chalk line and utility knife: Used for alignment and cutting shingles to fit.
- Roofing sealant: Helps create watertight protection in vulnerable areas.
- Safety gear: Gloves, boots, harnesses, and ladders for working securely at heights.
8 Step Process for Installing Architectural Shingles
While professional installation is always recommended for the best results, here is the general process roofers follow.
1. Remove Old Shingles
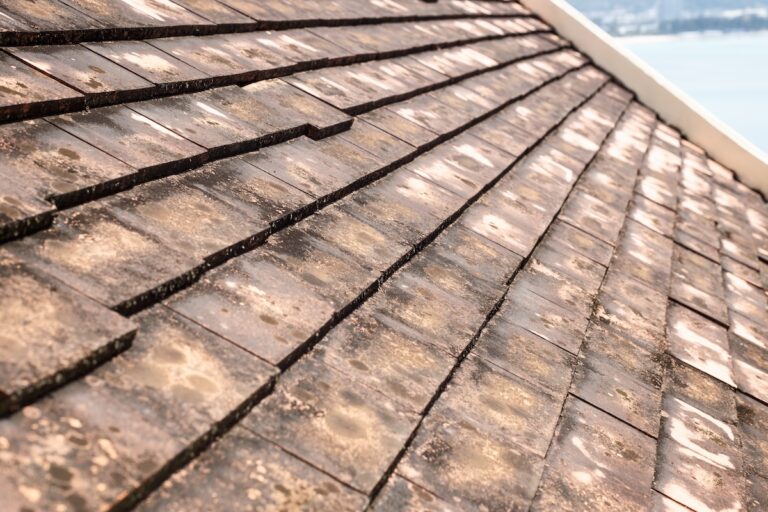
The first step is stripping the roof of any existing shingles. This involves prying up old nails, clearing away debris, and disposing of materials properly. Removing old shingles provides a clean surface for the new installation and ensures better adhesion.
2. Install Drip Edge
Drip edge flashing is installed along the eaves of the roof. This small but essential detail directs water away from the fascia and prevents damage to the underlying wood structure.
3. Lay Roofing Underlayment
Roofing underlayment, whether felt or synthetic, is rolled out across the roof deck. This layer provides an extra barrier against leaks, helping protect your attic and insulation from moisture.
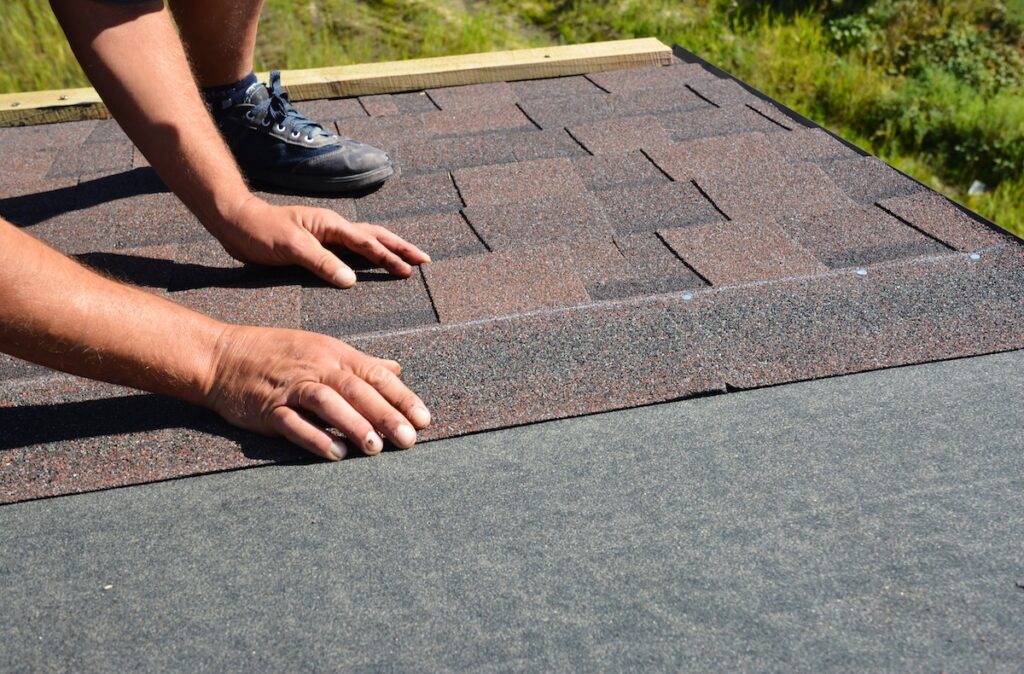
4. Apply Starter Strip Shingles
Starter strip shingles are placed along the edges of the roof. These strips help prevent wind uplift and provide a secure foundation for the first course of shingles.
5. Lay the First Course
The first row of architectural shingles is aligned directly above the starter strip. A chalk line ensures the row is perfectly straight. Proper alignment prevents uneven edges and reduces the chance of leaks.
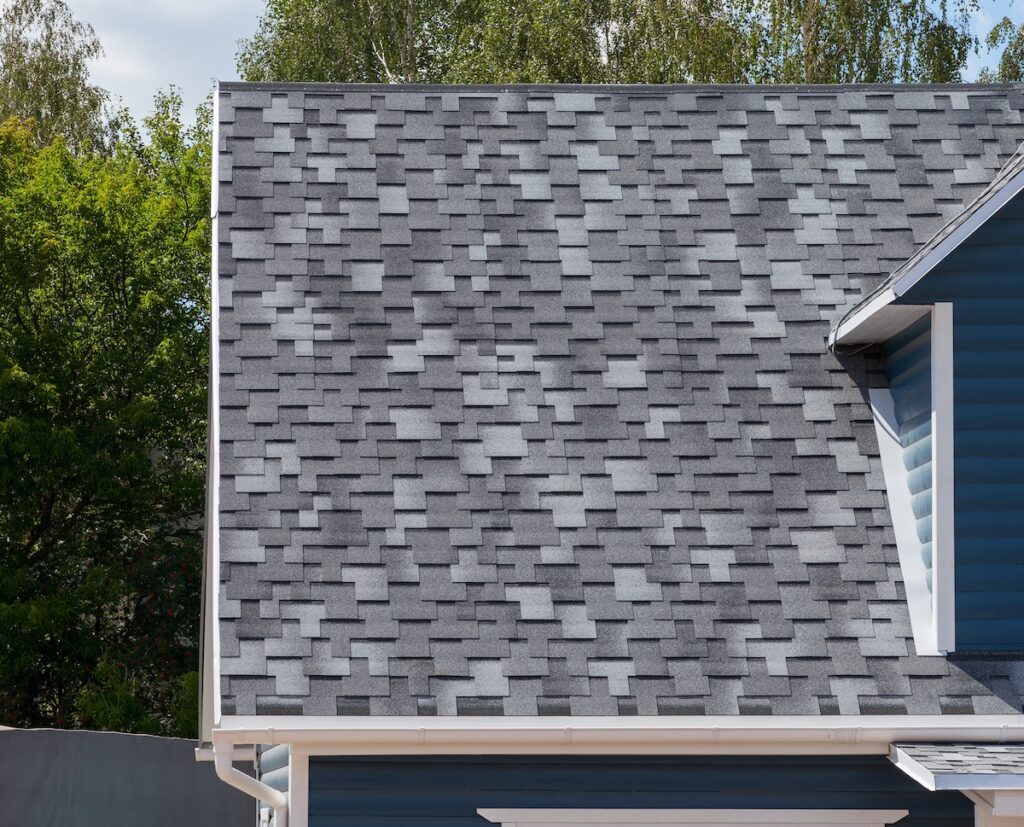
6. Continue Shingle Courses
Subsequent courses of shingles are staggered to create a layered pattern. This overlapping not only adds depth and character to the roof but also ensures seams do not line up, reducing leak risks.
7. Install Roof Valleys and Flashing
Roof valleys, where two sections meet, are particularly vulnerable. Flashing is installed and shingles are carefully cut to fit. Roofing sealant provides additional protection in these high-risk areas.
8. Finish With Ridge Caps
The final step is installing ridge cap shingles along the roof peaks. These specialized shingles bend over the ridge to create a watertight seal while giving the roof a polished appearance.
Tips for a Successful Installation
Even with a clear step process, small details make a big difference in how long your roof lasts.
- Follow manufacturer instructions: Each brand of shingles has its own installation guidelines.
- Use proper nail placement: Incorrect nailing reduces wind resistance and may void warranties.
- Mind the weather: Install during dry, mild conditions so adhesives and sealants cure properly.
- Check ventilation: Adequate attic ventilation prevents premature shingle aging from heat buildup.
- Work safely: Always use fall protection gear and avoid working alone.
Common Mistakes to Avoid
Shingle installation may look simple, but mistakes can cause major problems down the road.
- Skipping underlayment: Without this barrier, leaks are far more likely.
- Crooked rows: Misaligned shingles make the roof look unprofessional and may expose gaps.
- Overdriving nails: Driving nails too deep can puncture shingles or reduce their holding power.
- Neglecting flashing: Weak points around chimneys, vents, and valleys often lead to the first leaks.
When to Call a Professional Roofer
While ambitious homeowners may be tempted to try, installing architectural shingles is labor-intensive and potentially dangerous. Working at heights requires proper safety equipment and experience. A professional roofer ensures precise installation, warranty compliance, and lasting results. For homeowners in Ardmore, G. Cannon provides expert installation tailored to local building codes and weather conditions.
Extend the Life of Your Architectural Shingles
A roof is a major investment, and maintenance plays a big role in protecting it.
- Schedule inspections: Have your roof checked at least twice a year and after major storms.
- Clean gutters regularly: Prevents water from pooling and damaging shingle edges.
- Trim back trees: Reduces debris and the risk of falling branches.
- Address small repairs quickly: Fixing minor issues early prevents more costly problems later.
Protect Your Home With G. Cannon
Understanding how to install architectural shingles helps homeowners appreciate the craftsmanship and precision that go into building a durable roof. From enhanced durability to improved curb appeal, these shingles are a strong investment when installed correctly.
If you’re in Ardmore or surrounding areas and are ready for an upgrade, G. Cannon is here to help. Our experienced team delivers expert installation, repairs, and maintenance to keep your roof in top condition for decades. Contact us today for a free estimate and discover why local homeowners trust G. Cannon for roofing solutions that stand the test of time.