
Learning how to install a roof vent is one of the most valuable things you can do to protect your attic, reduce energy bills, and extend the life of your roofing system. Proper ventilation prevents heat buildup in the summer, reduces condensation in winter, and helps your roof materials last longer, all while making your home more comfortable.
In this guide, we’ll show you:
- How roof vents work and which type you may need
- A step-by-step guide to installing a basic static vent
- A checklist to make sure you don’t miss a thing
Let’s walk through the process and help you decide if this is a DIY job or one that’s better left to the pros.
💨 Why Roof Ventilation Matters
Roof vents allow air to circulate through your attic space, balancing heat and moisture year-round.
- In summer: Ventilation releases trapped hot air, which lowers attic temperatures and reduces strain on your HVAC system.
- In winter: Good airflow helps prevent condensation, which protects insulation and reduces the risk of mold and mildew.
- Year-round: Balanced airflow helps avoid ice dams, shingle damage, and premature roof aging.
Without ventilation, your roof structure and attic can deteriorate—leading to expensive repairs.
📋 Types of Roof Vents
Before learning how to install a roof vent, it’s important to know the different types available.

Static Vents (Box Vents)
- Passive ventilation: Air exits naturally without motors or fans.
- Great for most homes: Typically installed near the roof ridge.
- Easy to install: Popular for DIY-friendly projects.
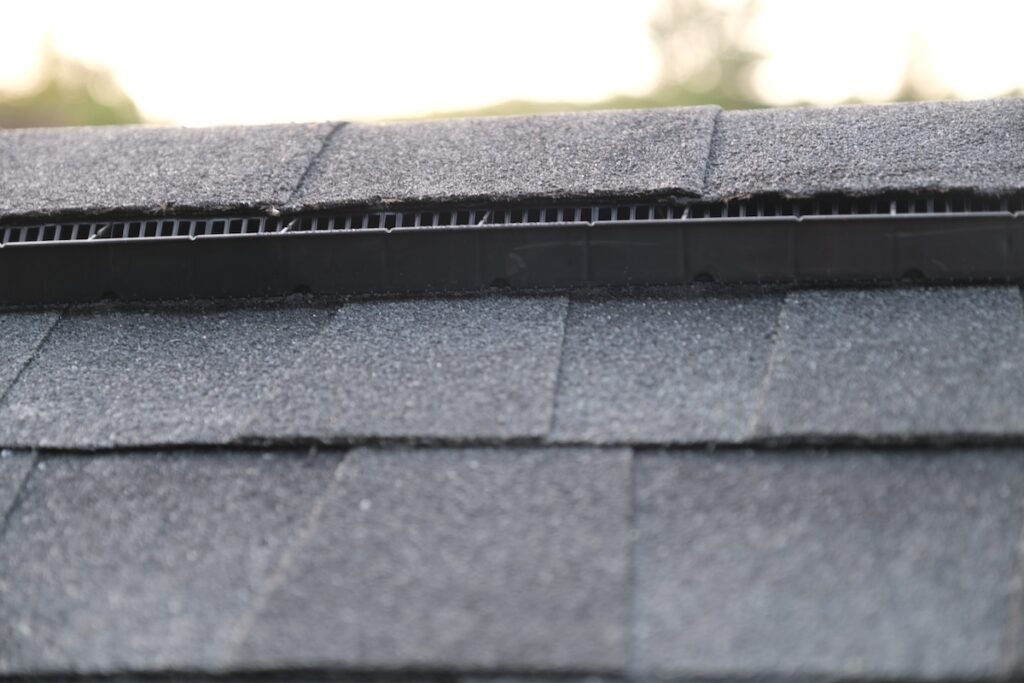
Ridge Vents
- Installed along the peak of the roof: Offers consistent ventilation across the attic.
- Often paired with soffit vents: Creates balanced intake and exhaust airflow.
- Best installed during roof replacement: More complex and not recommended for DIY retrofits.
Turbine Vents
- Wind-powered spinning fans: Pull hot air from the attic when the wind blows.
- Low-cost and effective: Ideal in areas with consistent wind.
- Easy to install: Can be DIY-friendly with the right tools.
Powered Vents
- Electric or solar fans: Actively pull hot air from the attic.
- More efficient in large attics: Often installed by professionals.
- Require wiring: Not recommended for most DIY homeowners.
🛠️ Tools & Materials Checklist
Before starting, gather these tools and materials.
- Roof vent (box or turbine style)
- Utility knife
- Reciprocating saw or jigsaw
- Tape measure and pencil
- Roofing nails or screws
- Roofing cement or sealant
- Flashing (if not built into the vent)
- Hammer or drill
- Ladder, safety harness, and non-slip shoes
Make sure you choose a vent that’s compatible with your roof slope and material.
✅ 4 Steps: How to Install a Roof Vent
This walkthrough focuses on installing a basic static roof vent on an asphalt shingle roof.
1. Mark the Vent Location
- Measure from the attic: Locate the center point between two rafters.
- Drive a nail up through the decking: Use it as your reference point from the roof surface.
- Ensure proper placement: Vents should be installed evenly near the ridge, but not at the highest point (unless using ridge vents).
2. Cut the Opening
- Trace the vent base: Use the vent’s flange as a guide to mark the opening.
- Cut through the shingles and decking: Use a utility knife for shingles and a jigsaw or reciprocating saw for decking.
- Clear away debris: Make sure the opening is clean and clear of insulation.
3. Lift Shingles and Install the Vent
- Slide the vent flange under the shingles: The top and sides should tuck under, while the bottom rests over the shingles.
- Secure with roofing nails or screws: Fasten the vent through the flange and into the decking.
- Seal with roofing cement: Apply a generous bead around the edges to prevent water intrusion.
4. Check for Proper Ventilation Flow
- Balance is key: Roof vents must be paired with adequate intake vents (usually at the soffit).
- Check existing vents: Make sure your attic isn’t over-ventilated or under-ventilated.
- Avoid mixing powered and passive vents: They can interfere with each other and reduce efficiency.

📋 Roof Vent Installation Checklist
Use this checklist to keep your project on track and ensure your attic stays properly ventilated for years to come.
- Choose the right vent type for your roof and climate: Consider roof slope, attic size, and local weather conditions when selecting a vent.
- Gather tools and safety gear before climbing the ladder: Have everything on hand, including a harness and non-slip shoes, to work safely.
- Mark your vent location from the attic using rafter spacing: Find a central point between rafters to ensure proper fit and ventilation.
- Cut the roof opening cleanly and accurately: Use the right saw and double-check your dimensions to avoid damaging surrounding shingles.
- Install the vent under shingles with proper flashing: Tuck the flange beneath the upper shingles and ensure flashing is tight to prevent leaks.
- Secure the vent and seal all edges: Nail or screw it into place and apply roofing cement to all seams for waterproof protection.
- Ensure you have proper intake (soffit) ventilation: Roof vents require airflow from soffit vents to function effectively and prevent condensation.
- Inspect your work from both attic and roof surface: Look for gaps, air leaks, or signs of poor fit from all angles.
- Monitor attic conditions over time to confirm effectiveness: Check for temperature, moisture, or signs of mold after installation to ensure it’s working.
📞 When to Call a Pro Instead
Some roof vent installations are better left to professionals, especially if they involve:
- Steep or multi-story roofs
- Unfamiliar roof structures or hidden damage
- Powered attic fans requiring electrical work
- Ridge vent installation or replacing older systems
- Concerns about leaks or attic mold
At G. Cannon, we inspect your attic ventilation and install roof vents as part of our complete roofing services—ensuring everything is properly balanced and up to code.
🤝 Get Ventilation Right With G. Cannon
Now that you know how to install a roof vent, you can see just how important attic airflow is for the health of your roofing system. Whether you’re looking to improve comfort, prevent damage, or lower your utility bills, a well-installed vent can make all the difference.
If you’re unsure where to start, or want a pro to handle the job, G. Cannon is here to help. We’ll assess your attic ventilation, recommend the right vent type, and ensure it’s installed safely and correctly.
Contact G. Cannon today for a free estimate for your ventilation upgrade. Your roof (and your attic) will thank you.