
Thinking about replacing your roof yourself? DIY roof replacement might sound intimidating, but with the right tools, materials, and a clear plan, it’s absolutely doable for a confident homeowner.
In this step-by-step guide, you’ll learn:
- How to tell when it’s time for a roof replacement
- What tools and materials you’ll need
- How to tear off your old roof safely
- Tips to stay compliant with local building codes
- Safety precautions every DIYer must follow
Whether you’re trying to save money or simply enjoy a hands-on project, this guide will walk you through the entire process of replacing your roof from prep to clean-up.
Why and When to Replace Your Roof
There are several reasons you might need a new roof. Common indicators that your roof needs replacement include:
- Age: Most asphalt shingle roofs last between 20-25 years. If your roof is nearing this age, it might be time for a replacement.
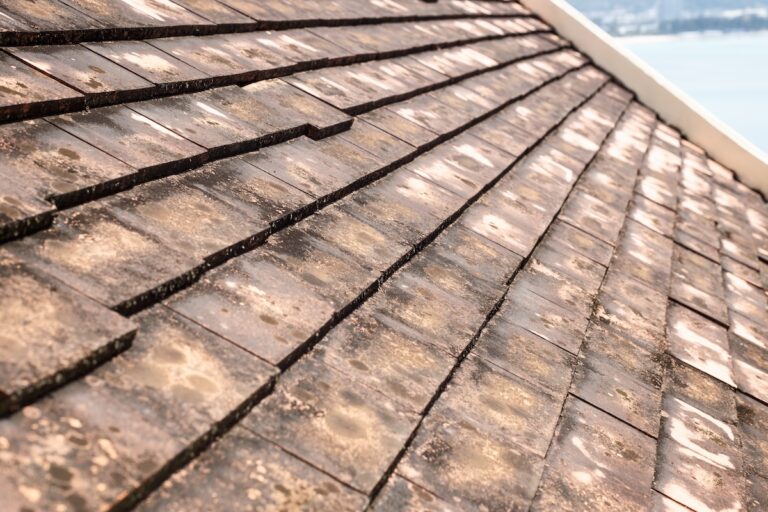
- Missing or Damaged Shingles: Shingles that are cracked, curled, or missing can compromise the integrity of your roof.
- Leaks: Water damage in your attic or ceiling often signals that your roof is failing.
- Sagging Roof Deck: A sagging roof deck is a sign of serious structural issues and should be addressed immediately.
Tools and Materials You’ll Need
Before you begin your DIY roof replacement, it’s essential to gather the right tools and materials. Having everything ready will make the process faster, safer, and more efficient.
Essential Roofing Tools (with Purpose)
| Tool | Purpose |
|---|---|
| Ladder | To safely access the roof |
| Roofing shovel or tear-off tool | For removing old shingles and nails |
| Pry bar | Helps lift roofing materials and flashing |
| Hammer or roofing nail gun | For nailing down new shingles and flashing |
| Utility knife | To cut underlayment, shingles, and sealant |
| Chalk line | Keeps your shingle rows straight |
| Tape measure | For accurate material placement |
| Tin snips | To cut flashing and metal pieces |
| Caulking gun | For applying roofing sealant |
| Safety harness & roof anchors | Critical fall protection gear |
| Tarps | Protect landscaping and catch falling debris |
Pro Tip: Invest in a magnetic nail sweeper to pick up stray nails during cleanup, it’s a back-saver!
Roofing Materials You’ll Need
| Material | Purpose |
|---|---|
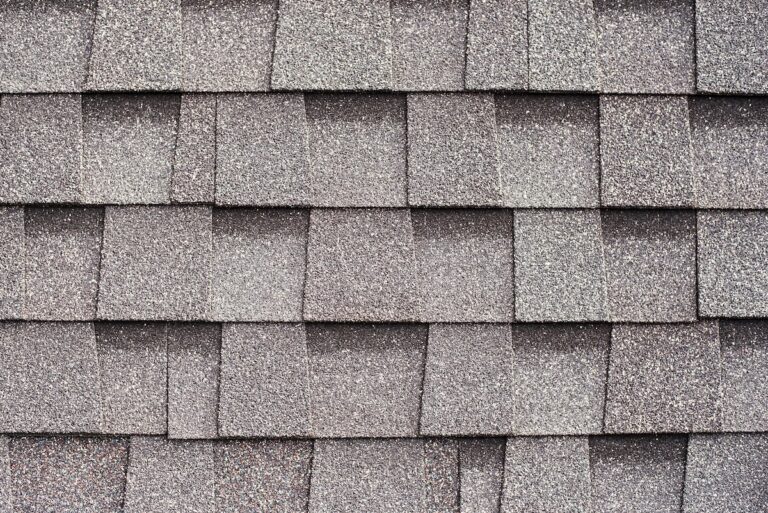
| Roofing shingles | Your new roof covering (choose based on durability and climate) |
| Roofing nails | For fastening shingles securely |
| Underlayment (felt or synthetic) | Acts as a moisture barrier |
| Drip edge | Prevents water from getting under shingles at the edges |
| Flashing | Seals roof transitions and penetrations (like chimneys or vents) |
| Sealant | For waterproofing flashing and roof penetrations |
| Ridge vents or roof vents | Help ventilate your attic to prevent moisture buildup |
Safety First!
Roofing can be dangerous, so always prioritize safety:
- Use a Safety Harness: Secure a safety harness to a stable anchor point on your roof.
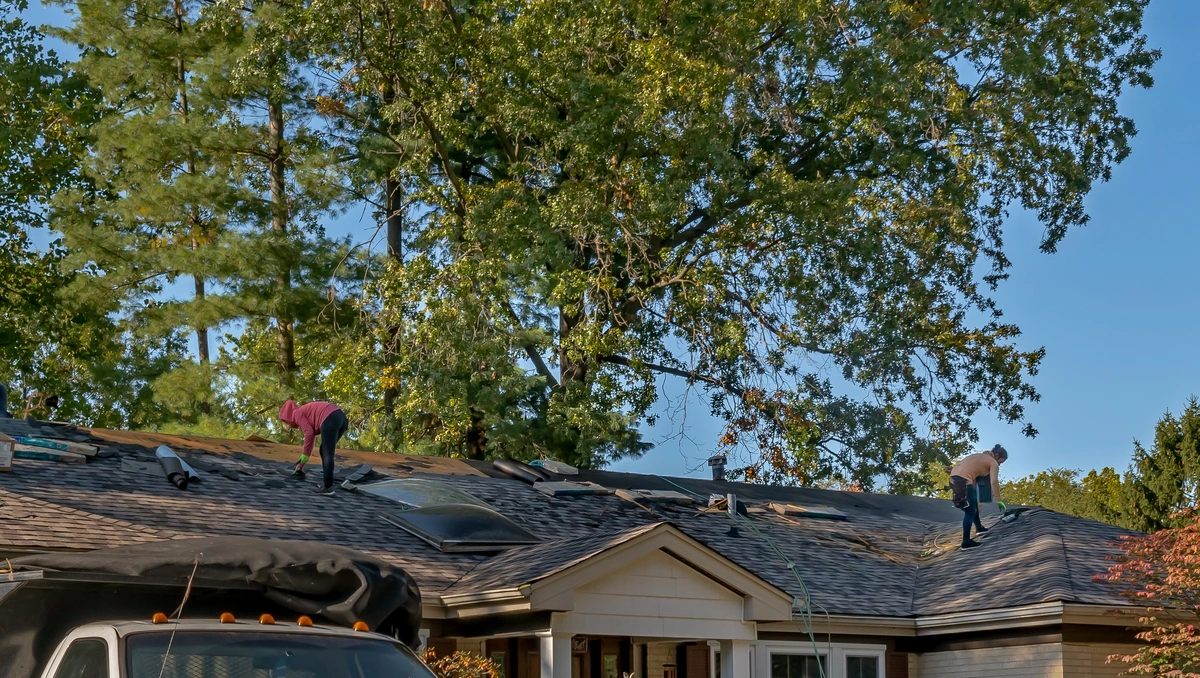
- Work with a Buddy: Having someone to assist you can help prevent accidents.
- Check the Weather: Avoid roofing on rainy or windy days.
- Wear Appropriate Gear: Use sturdy shoes with good traction and wear gloves to protect your hands.
9 Step Roof Replacement Guide

Replace your roof like a pro by following these 9 steps.
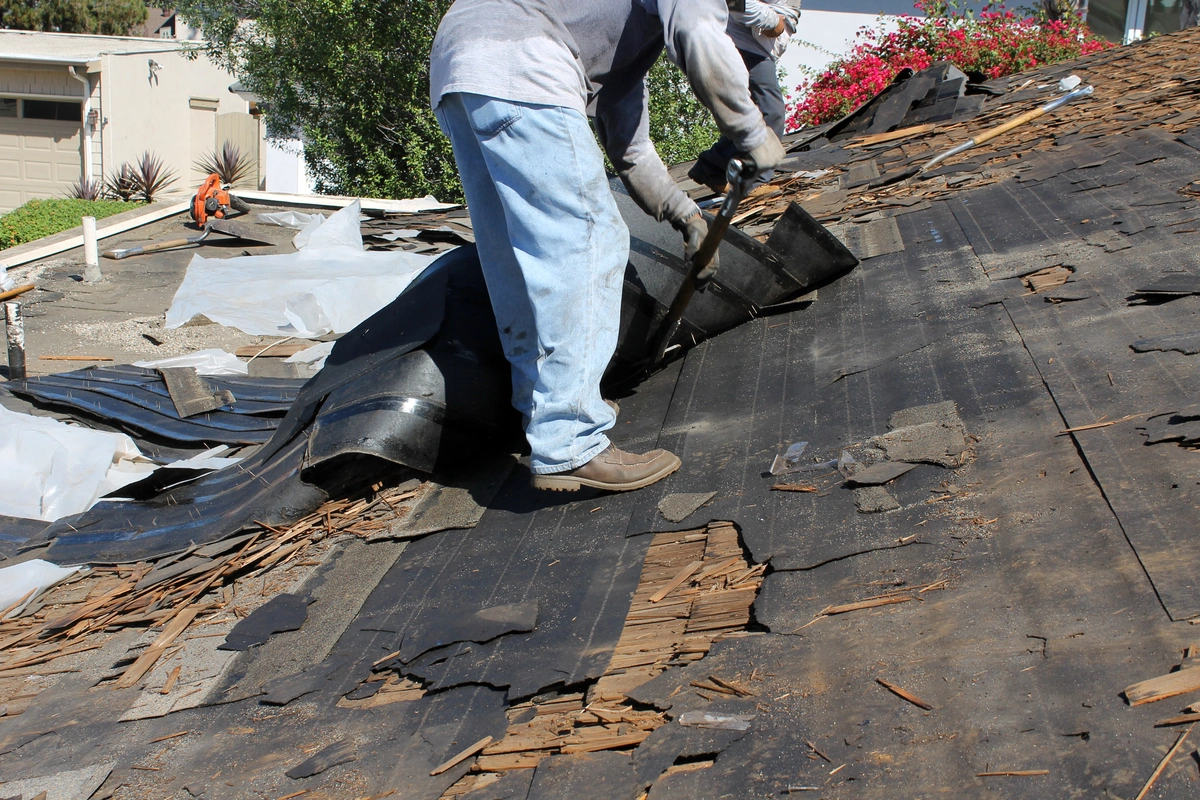
Step 1: Remove the Old Roof
- Start at the Top: Begin removing shingles from the top of the roof, working your way down.
- Use a Roofing Shovel: A roofing shovel or tear-off tool helps to remove shingles more efficiently.
- Collect Debris in Tarps: Spread tarps around your house to catch falling debris and make cleanup easier.
- Remove Nails and Flashing: Use a pry bar to remove nails and old flashing.
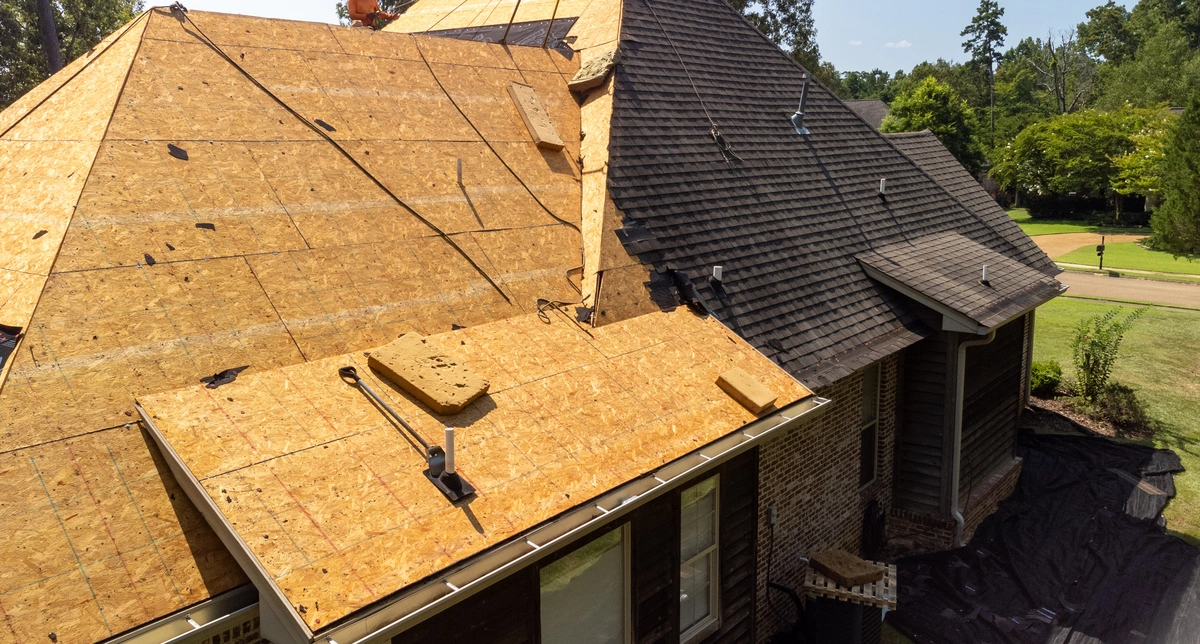
Step 2: Inspect the Roof Deck
- Check for Damage: Inspect the plywood for any signs of rot or damage. Replace any compromised sections.
- Ensure Flat Surface: Make sure the roof deck is smooth and free from protruding nails or screws.
Step 3: Install the Drip Edge
- Place Drip Edge Along the Eaves: Nail the drip edge along the eaves of the roof, ensuring it extends past the edge of the decking.
- Install Along the Rakes: After the underlayment is laid, install the drip edge along the rake edges.
Step 4: Lay the Underlayment
- Roll Out the Underlayment: Starting at the bottom, roll out the underlayment horizontally across the roof.
- Overlap Each Row: Ensure each row overlaps the one below it by at least 6 inches.
- Secure with Nails or Staples: Use roofing nails or staples to secure the underlayment to the roof deck.
Step 5: Install Flashing
- Step Flashing for Valleys: Install step flashing in roof valleys and around chimneys.
- Continuous Flashing for Roof Edges: Use continuous flashing along roof edges to prevent water infiltration.
Step 6: Install the Shingles
- Start at the Bottom: Begin laying shingles at the bottom edge of the roof, working your way up.
- Follow the Chalk Line: Use a chalk line to keep your rows straight.
- Nail Properly: Use four nails per shingle, positioned just below the adhesive strip.
- Stagger Shingle Joints: Stagger the joints in each row to prevent leaks.
- Trim Shingles as Needed: Use tin snips to trim shingles at roof edges and valleys.
Step 7: Install Ridge Cap Shingles
- Cut Ridge Cap Shingles: Cut shingles into sections to create ridge cap shingles.
- Lay Over the Ridge: Lay the ridge cap shingles over the ridge, overlapping each piece.
- Nail Securely: Use roofing nails to secure the ridge cap shingles into place.
Step 8: Install Roof Vents
- Cut Holes for Vents: If necessary, cut holes in the roof deck for vents.
- Install Vent Flashing: Place flashing around the vent openings.
- Secure the Vents: Install the vents and seal around the edges with roofing sealant.
Step 9: Clean Up
- Remove Debris: Clear away all debris and old shingles from the roof and surrounding area.
- Inspect Your Work: Do a final inspection of your work to ensure all shingles are properly installed and there are no loose nails or flashing.
Tips for a Successful DIY Roof Replacement
Want to replace your roof like a roofing contractor would? Follow these rules to work like a well-oiled roofing company.
Plan Ahead
- Order Materials in Advance: Ensure you have all necessary materials before you start.
- Check Local Building Codes: Make sure you comply with any local building codes or regulations.
Work Efficiently
- Start Early: Begin work early in the day to take advantage of cooler temperatures.
- Take Breaks: Stay hydrated and take regular breaks to avoid fatigue.
Maintain Quality
- Use Quality Materials: Invest in high-quality shingles and underlayment for a longer-lasting roof.
- Follow Manufacturer Instructions: Adhere to the installation instructions provided by the manufacturer.
DIY Roofing? Try G Cannon Instead!
Replacing your own roof is a challenging but rewarding project. With careful planning, the right tools, and a step-by-step guide, you can achieve professional results while saving money. Remember to prioritize safety and take your time to ensure a job well done.
If replacing your existing roof is feeling overwhelming, G Cannon Roofing has you covered. Contact us today to learn about roof replacements and more!