
The best time of year to remove moss from roof surfaces depends on weather, temperature, and roof safety. Moss might look harmless at first, but it can cause long-term damage if left untreated. Homeowners looking to preserve their roofs, improve curb appeal, and avoid costly repairs should understand the optimal time for moss removal.
- Moss thrives in damp, shaded conditions, which means it often takes hold in late fall and winter.
- Spring and early summer offer ideal conditions for safe, effective moss removal.
- Choosing the right time ensures better results, safer access, and a lower likelihood of regrowth.
Let’s take a closer look at how each season affects moss control and what you can do to protect your home.
🌱 Why Moss on Your Roof Is a Problem
Roof Damage Over Time
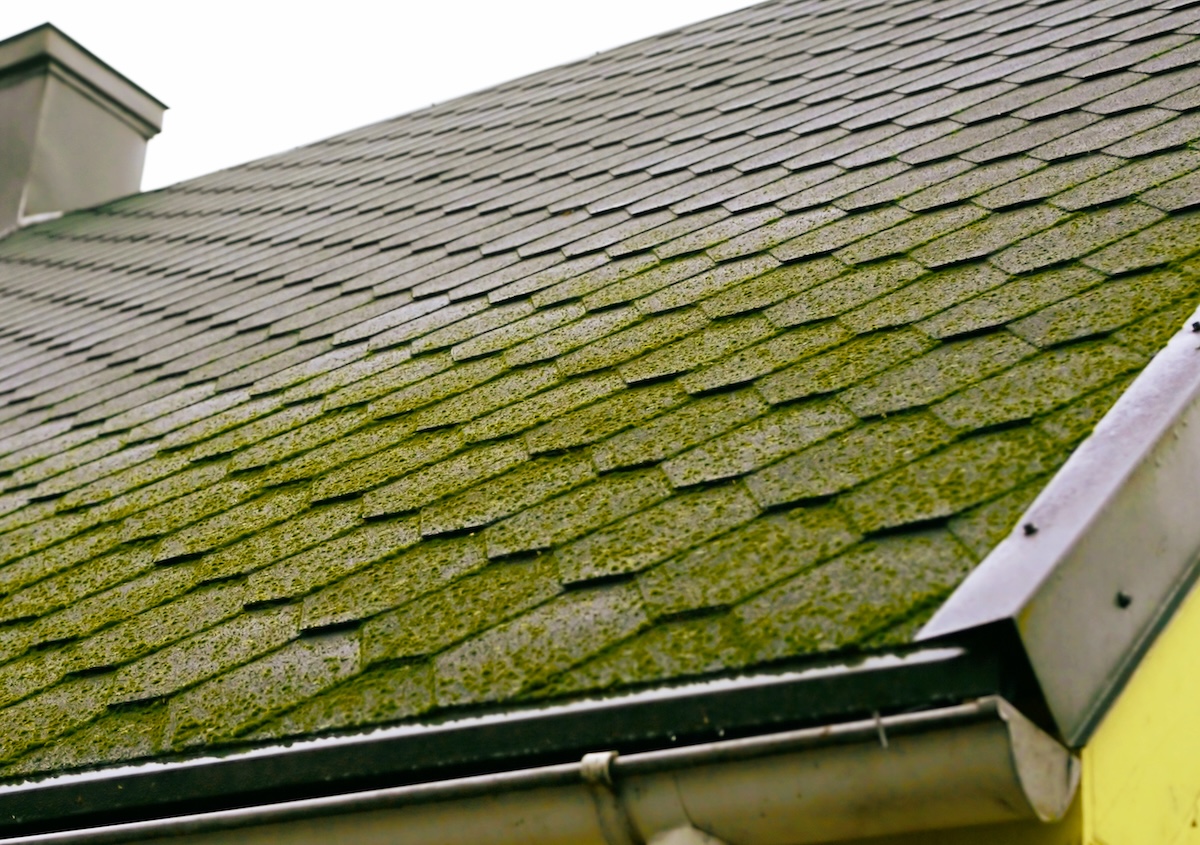
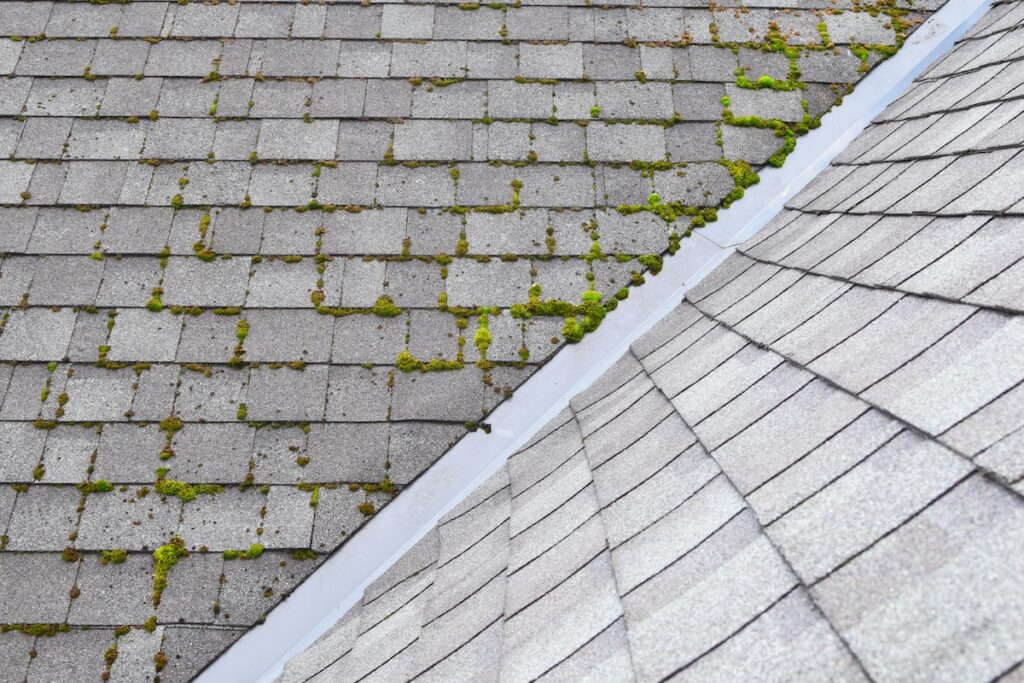
Moss may seem like a simple aesthetic issue, but it can actually compromise the integrity of your roofing materials. When moss builds up between shingles, it retains moisture, which can lead to:
- Wood rot on underlying decking.
- Lifted or curled shingles that allow water infiltration.
- Ice dams forming more easily in winter.
Reduced Roof Lifespan
Moisture trapped by moss accelerates deterioration, leading to early roof failure. Even roofs that should last 20 or 30 years may need replacement significantly sooner if moss is left unchecked.
Hidden Costs of Delay
Aside from visible damage, moss can also affect attic insulation and indoor humidity levels. Over time, this may lead to:
- Mold growth inside your attic or walls.
- Higher heating and cooling bills.
- Additional pest problems due to damp conditions.
🌸 Spring: The Ideal Time for Moss Removal
- Weather Conditions Favor Cleaning: Spring is generally the best time for moss removal. Mild temperatures and low humidity provide the right conditions for effective treatments. You avoid extreme weather patterns that make roof work unsafe or ineffective.
- Moss is More Visible: After snow melts and rain subsides, moss patches stand out clearly against dry shingles. This makes it easier to identify areas that need attention and plan an appropriate cleaning strategy.
- Prevention for Future Growth: Treating moss in the spring helps kill current growth and allows you to apply preventive solutions that inhibit regrowth before fall and winter create favorable conditions again.
☀️ Summer: When Cleaning Is Safe and Efficient
- Dry Roof Surfaces: Summer offers dry roof conditions that are perfect for applying moss-killing solutions and sweeping away dead moss. Wet roofs increase slip risk and make it difficult for cleaning agents to adhere properly.
- Long Days, Better Visibility: Roofing professionals benefit from extended daylight hours during summer, allowing for thorough inspections and comprehensive removal without the time constraints of shorter days.
- Ideal for Repairs After Cleaning: Moss often reveals damaged shingles or flashings underneath. Summer allows time to address these repairs before the rainy season returns.
🍂 Fall: A Mixed Bag for Moss Removal
- Why Fall Can Work: If spring cleaning was skipped, early fall can serve as a backup option. The weather is still relatively dry, and moss hasn’t yet begun aggressive regrowth.
- Caution with Leaves and Debris: Fall also brings an influx of leaves, pine needles, and organic debris that can fuel moss growth. You may need to clean your roof several times as one of the many preventative techniques to protect it.
- Slippery and Damp Risks: As temperatures drop, dampness increases. This can lead to slippery conditions that make moss removal more dangerous without the right safety measures.
❄️ Winter: The Worst Time to Remove Moss
- Hazardous Conditions: Snow, ice, hailstorms, and freezing temperatures make winter the least suitable time for roof work. Even well-trained contractors typically avoid working on icy roofs due to safety hazards.
- Ineffective Treatment: Cold temperatures reduce the effectiveness of moss treatments. The moss may be dormant, but it’s also more stubborn and less likely to absorb cleaning solutions.
- Risk of Roof Damage: Walking on frozen shingles or applying treatment in subzero temperatures can cause cracking or brittle damage to the roofing material.
✅ Steps for Effective Moss Removal
1. Inspect and Assess the Roof
Before starting, always inspect your roof for:
- Moss density and coverage.
- Areas of shingle damage.
- Potential safety concerns like steep slopes or loose materials.
2. Choose the Right Tools
- Soft-bristle brushes or push brooms.
- Oxygen-based moss remover or a 50/50 water and vinegar solution.
- Safety gear like harnesses and non-slip shoes.
3. Apply Moss Killer/Chemical Treatments
- Spray your moss treatment according to the manufacturer’s instructions.
- Let it sit for at least 15–20 minutes or as directed.
- Avoid using bleach as it can damage shingles and landscaping.
4. Gently Remove Dead Moss
- Use your brush to gently scrub away loosened moss.
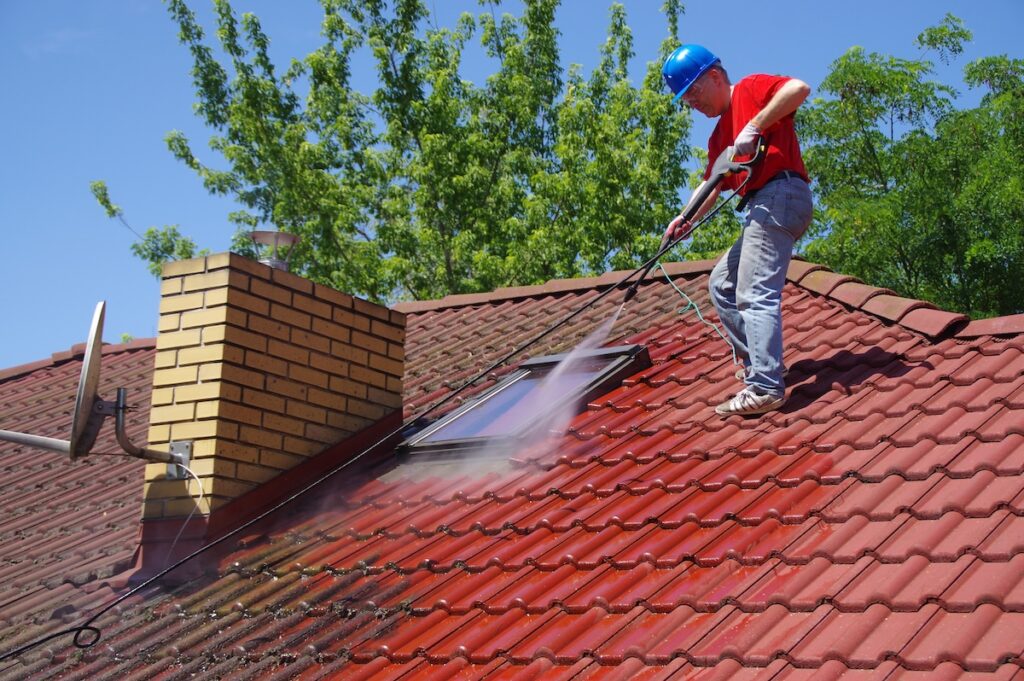
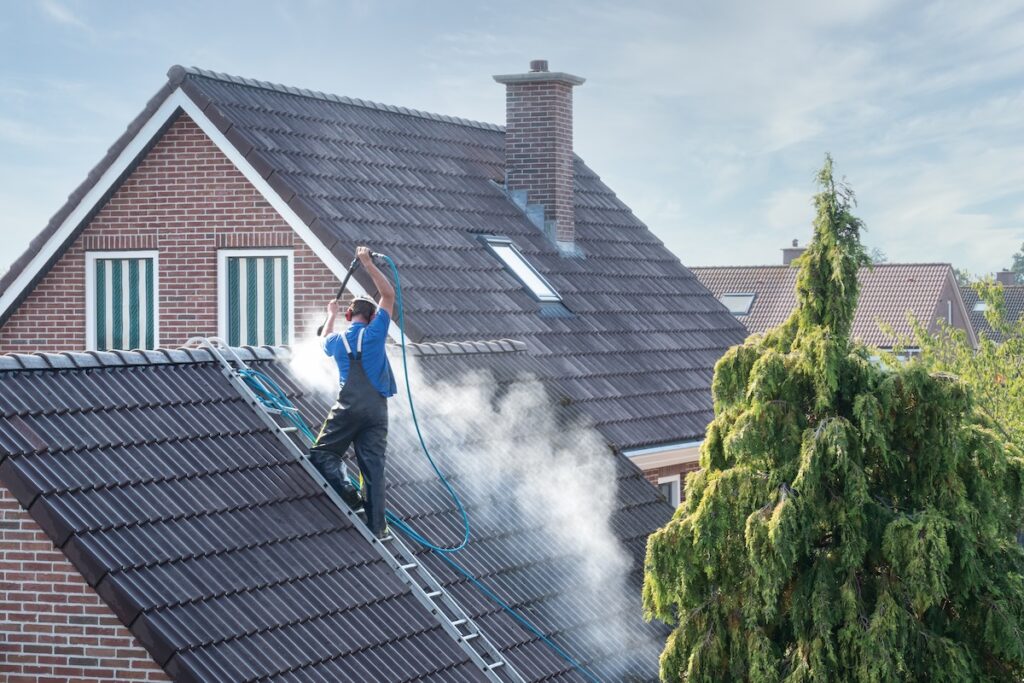
- Avoid power washing, which can damage shingles and spread spores.
5. Rinse and Inspect
- Use a hose with low pressure to rinse off remaining moss.
- Check for any signs of damage or areas where moss might return.
6. Prevent Moss Growth in the Future
- Trim overhanging branches to allow more sunlight.
- After installing gutters, they must be cleaned regularly to prevent water backup.
- Consider adding zinc or copper strips near the roof ridge.
🤝 G. Cannon Is Your Trusted Partner for a Moss-Free Roof
At G. Cannon Roofing and Siding, we understand how important your home’s roof is to the safety, value, and comfort of your property. Whether you need seasonal maintenance or full roof restoration, we’re here to help.
We are a committed roofing company that guarantees quality craftsmanship, clear communication, and personalized service. When it’s time to protect your investment from moss damage, don’t settle for less.
Contact G. Cannon today for a free estimate and let us help keep your home safe, strong, and moss-free.