Learning how to install a roof vent cap is an important skill for homeowners who want to protect their attic space and maintain proper ventilation. A vent cap helps keep out rain, snow, and pests while ensuring your roof system breathes as it should. While some installations are simple enough for a handy homeowner, others require professional expertise to guarantee lasting results.
- Moisture prevention: A vent cap prevents rain or melted snow from leaking into your attic.
- Pest protection: Properly installed caps block birds, rodents, and insects from sneaking inside.
- Energy efficiency: Good ventilation helps reduce heat buildup, lowering cooling costs.
Why Roof Vent Caps Are Essential
Vent caps may seem like a small feature, but they play a big role in the health of your roofing system. Without them, vent openings can allow water, debris, and animals to cause damage inside your attic. Over time, this can lead to mold growth, insulation issues, and higher energy bills. Homeowners in areas like Conshohocken and surrounding communities often experience varied weather, making these caps especially valuable for long-term roof protection.
Tools and Materials Needed
Before you begin installing a roof vent cap, gathering the right tools and supplies will make the process smoother.
- Vent cap: Choose one that fits your specific vent type and roofing material.
- Roofing nails or screws: Essential for securing the cap tightly.
- Roofing sealant: Creates a watertight barrier around the vent.
- Hammer or drill: Helps fasten the cap in place.
- Utility knife: Useful for trimming shingles or flashing.
- Safety gear: Gloves, boots, and a stable ladder to ensure you work securely.
Having all materials ready before you start prevents unnecessary trips up and down the ladder, which keeps the job safer and faster.
5 Step Process for Installing a Roof Vent Cap
Installing a roof vent cap requires careful attention to detail. Each step ensures your cap functions properly and keeps your home protected.
- Locate the Vent Opening: Identify where your roof vent is located. If you’re replacing an existing cap, remove the old one by carefully pulling out nails or screws. Clean the area of old sealant and debris to prepare for the new installation.
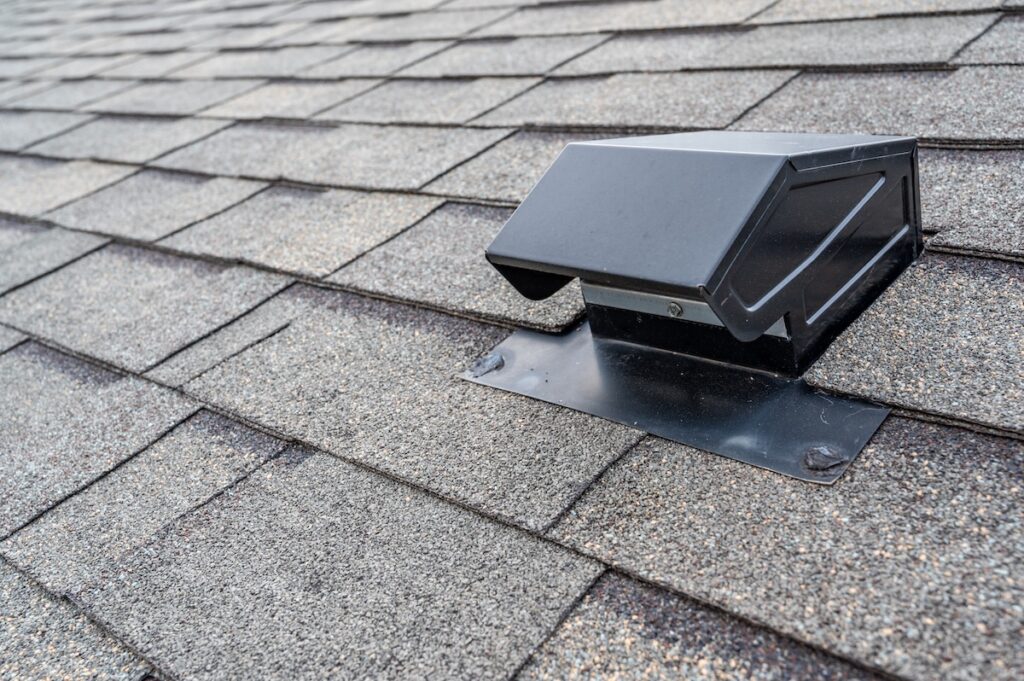
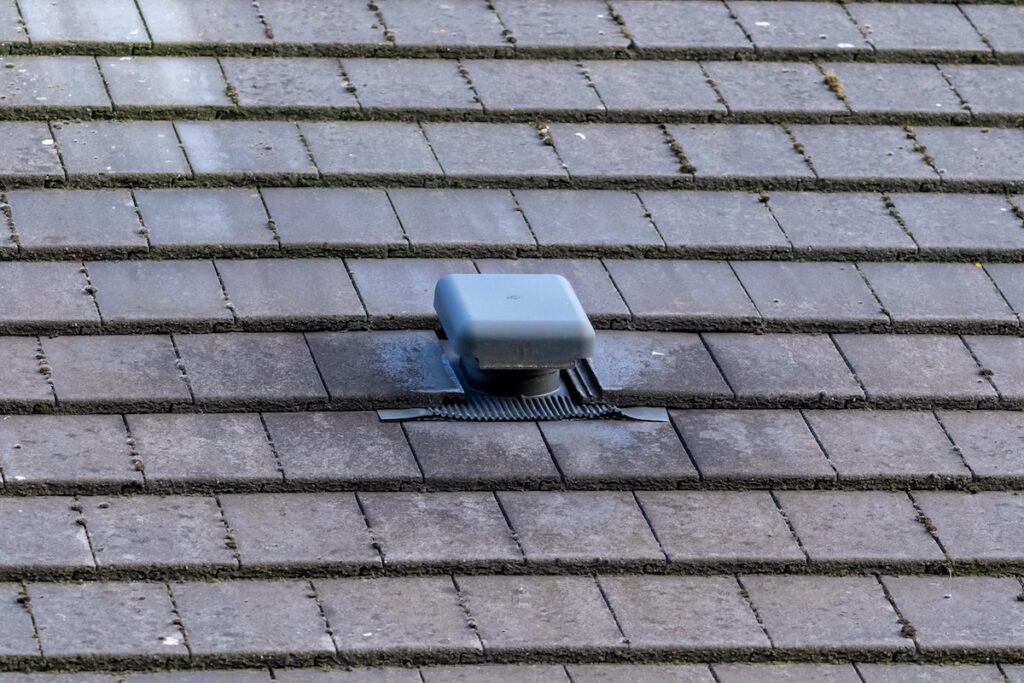
- Position the Cap: Place the vent cap directly over the opening. Ensure it sits flush with the roof and lines up correctly with the shingles. Misalignment can allow water to seep in, reducing the cap’s effectiveness.
- Secure the Cap: Use roofing nails or screws to fasten the cap into place. Space them evenly along the edges, being careful not to overtighten. Proper fastening keeps the cap stable during strong winds or storms.
- Seal the Edges: Apply a generous layer of roofing sealant around the base of the cap. This prevents water from sneaking underneath and protects your attic from leaks. Smooth out the sealant to create a continuous, watertight barrier.
- Inspect Your Work: Once the cap is secured and sealed, step back and inspect it closely. Look for gaps, uneven areas, or loose fasteners. It’s better to correct mistakes immediately than risk future roof damage.
Common Mistakes to Avoid
Even the most confident DIYers can run into problems when installing roof vent caps. Here are some pitfalls to watch for:
- Skipping sealant: Without a proper seal, leaks are almost guaranteed.
- Using the wrong cap size: A cap that doesn’t match your vent opening won’t keep pests or moisture out.
- Poor fastening: Loose nails or screws can allow wind to lift the cap.
- Ignoring safety: Working on a roof without the right precautions increases the risk of injury.
When to Call a Professional
While some homeowners in Conshohocken may feel comfortable with this project, many prefer to leave it to professionals. Roof vent cap installation involves climbing, working with tools at heights, and ensuring a precise waterproof finish. A professional roofer can complete the job quickly and guarantee lasting protection. If your vent opening is damaged or your roof has underlying issues, calling an expert is the safest choice.
5 Key Benefits of Professional Installation
If you’re unsure about tackling this project yourself, hiring a roofing contractor offers many advantages:
- Expertise: Professionals know how to handle tricky installations and potential roof complications.
- Proper sealing: Contractors use high-quality sealants and flashing techniques that last longer.
- Safety assurance: Roofing teams are trained and equipped to work safely at heights.
- Warranty protection: Many roof warranties require professional installation to stay valid.
- Time savings: A project that might take a homeowner hours can often be done in under an hour by a pro.
Roof Vent Cap Maintenance Tips
After installation, vent caps should be inspected regularly to ensure they remain in good condition.
- Seasonal checks: Inspect caps each spring and fall to catch early signs of wear.
- Clean debris: Remove leaves, dirt, or branches that might block airflow.
- Check seals: Reapply roofing sealant if you notice cracks or gaps forming.
- Watch for pests: Look for signs of nesting animals around vent openings.
Routine care helps extend the lifespan of your roof vent caps and prevents expensive repairs.
Protect Your Home With Proper Vent Cap Installation
Learning how to install a roof vent cap gives homeowners insight into the importance of attic ventilation and roof protection. While some installations are manageable for DIY enthusiasts, many homeowners in Conshohocken and surrounding areas find greater peace of mind by trusting professionals.
G Cannon is the #1 choice for roofing expertise, offering reliable installation, repair, and maintenance services that protect your home year-round. If you need a new vent cap or any other roofing solution, reach out today for a free estimate and see why local homeowners trust us to get the job done right.